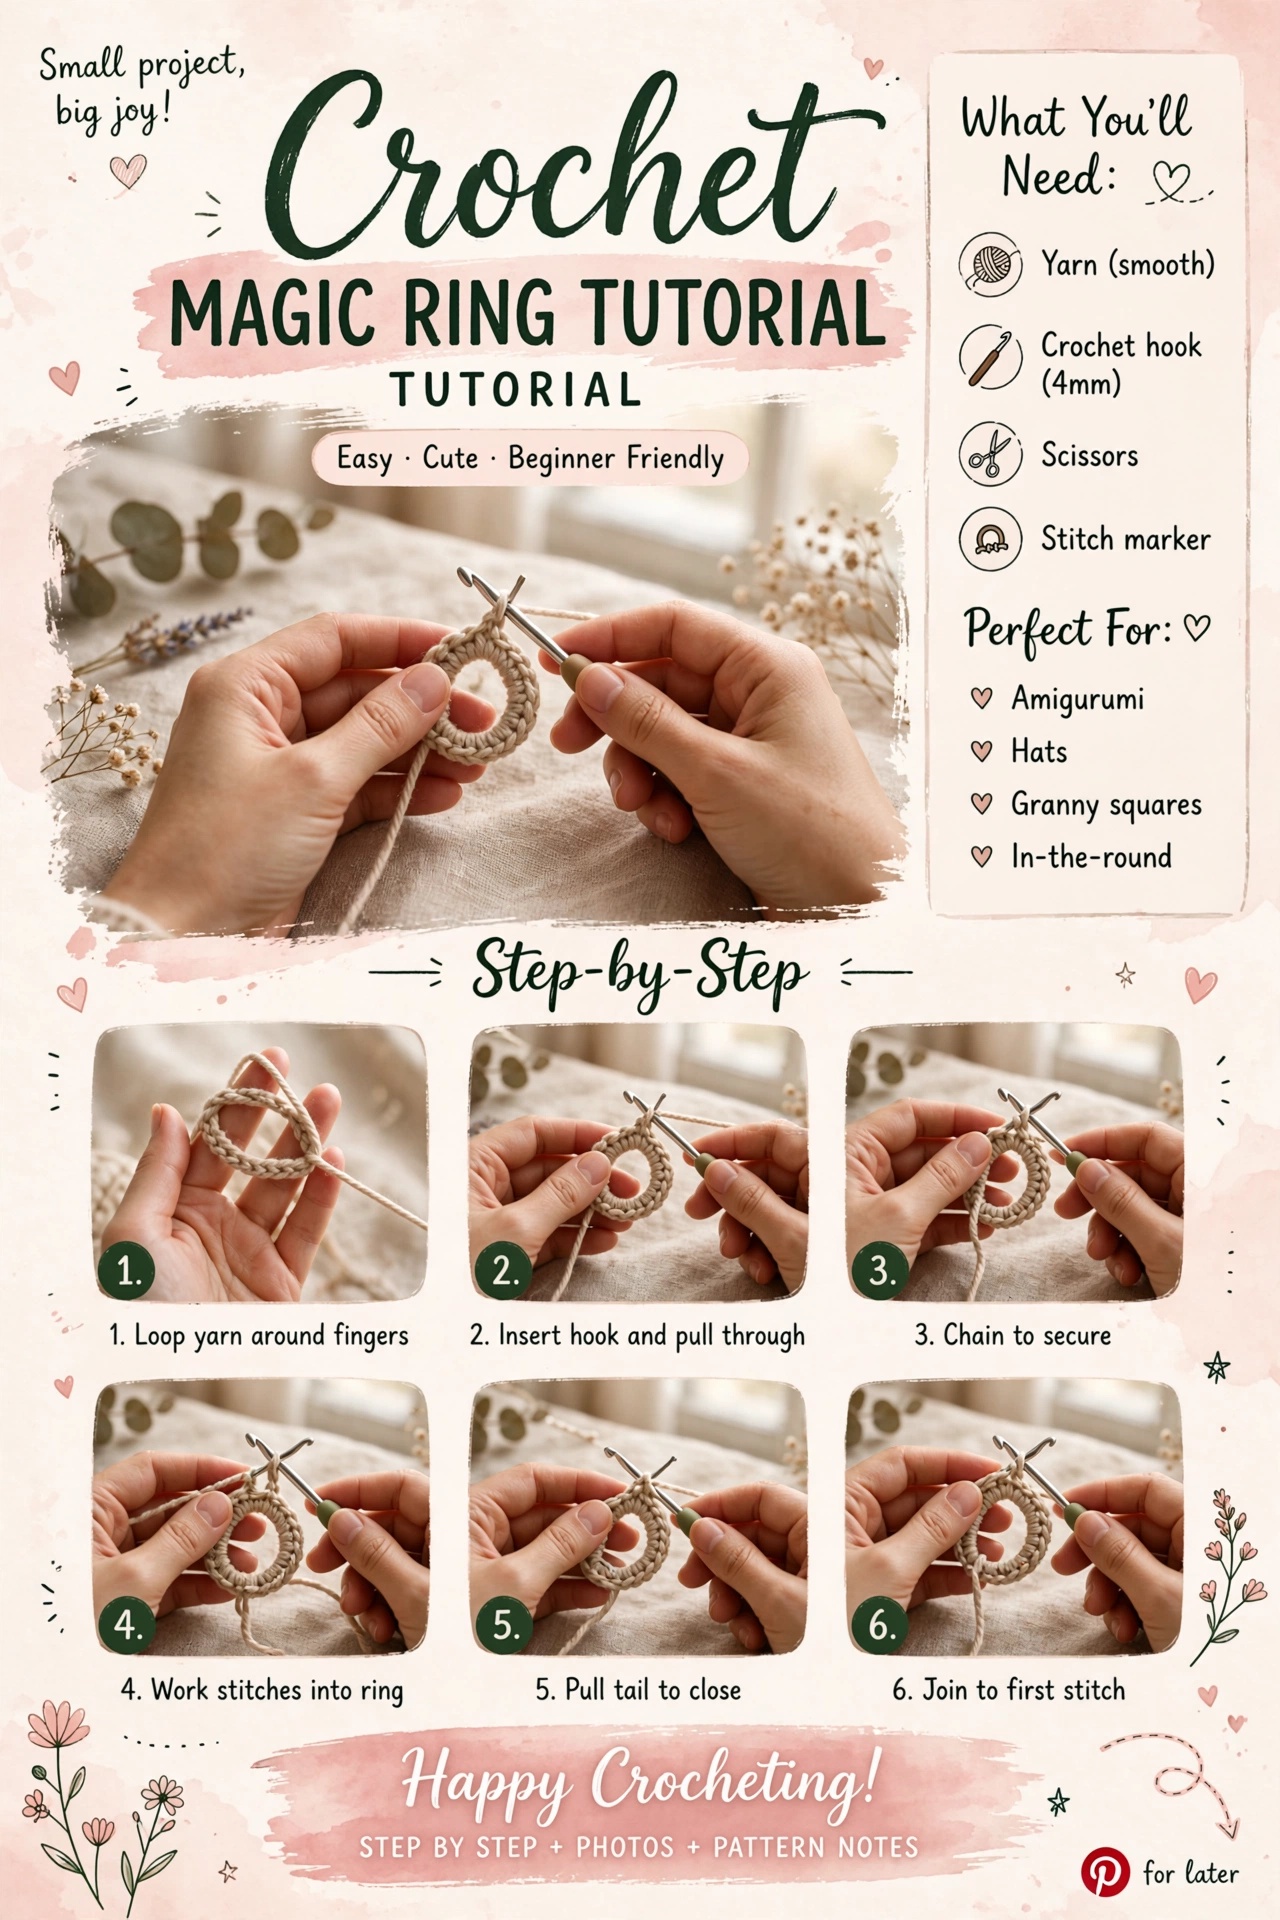
Hey, it’s Sara — the adjustable magic ring step by step, so your amigurumi centers close cleanly.
Hey, it’s Sara
The magic ring (also called magic circle or adjustable ring) is the cleanest way to start amigurumi and anything worked in the round. I’m Sara — once this click happens in your hands, you’ll never want to start a head with a chain ring again.
Why the magic ring exists
A chain-4 ring leaves a little hole in the center. The magic ring lets you pull that hole completely shut after your first round of stitches. Essential for toys, flowers started from the center, and tidy granny centers.
Step-by-step: magic ring
- Lay the yarn tail over your palm, working yarn on top. Loop the working yarn around your fingers once so you have a ring and a short tail.
- Insert the hook under the ring (under both the ring strand and the tail), yarn over with the working yarn, pull up a loop.
- Chain 1 (for single crochet projects) or chain 3 (if your first round is double crochet).
- Work the required stitches into the ring, crocheting over both the ring and the tail.
- When the round is done, pull the tail gently until the center closes. Join if your pattern says to join; many amigurumi patterns continue in a spiral instead.
Practice round
R1: 6 sc into the ring. Pull tail tight. (6)
R2: 2 sc in each st around. (12)
You should have a flat little disc with no hole in the middle.
When it won’t close
- You may have worked only over the ring and not the tail — frog and catch both strands.
- Don’t yank violently; pull steady. If the tail slips out, leave a longer tail next time and weave it in after.
- Still stuck? Use a ch-2 ring as a backup for practice day, then return to magic ring tomorrow.
The part beginners usually miss
Your first stitches are not worked into a normal chain. They wrap around the adjustable loop itself. Before tightening anything, count those stitches while the ring is still open enough to see them. Once I have the correct count, I hold the stitches gently with one hand and pull the yarn tail with the other.
After closing the center, weave the tail securely through the wrong side instead of trimming it close to the ring. That tail is part of what keeps the adjustable center secure.
Magic ring vs. chain start
Use a magic ring when you want the smallest possible center hole, especially for amigurumi. A chain-2 or chain-4 start is still useful when the yarn is slippery, textured, or simply refuses to slide through an adjustable loop. The finished project matters more than using one “correct” technique.
If your first round needs six single crochet stitches, make the ring, work all six, tighten, then continue with the increase round. My crochet-in-the-round guide explains what happens after that first circle.
Final note from Sara
Awkward the first day. Automatic the second week. Stick with it.
Magic ring practice pattern
Sample yarn: smooth cotton #3–4 · Hook: 4 mm · Practice result: a closed center with 6 sc.
Abbreviations
MR = magic ring · sc = single crochet · sl st = slip stitch · ch = chain · st = stitch.
Numbered instructions
- Form an adjustable loop and leave a 10–15 cm (4–6 in) tail.
- Hold the crossing point securely.
- Chain 1 to anchor the working loop.
- Work 6 sc into the ring, keeping the center open enough for the hook to enter.
- Pull the tail slowly until the center closes.
- Join with a sl st if your project uses joined rounds, or continue directly if it uses continuous rounds.
Checkpoint
The center should close without forming a hard knot. If it twists, rebuild the ring before adding more rounds.
Finishing & care
Secure the tail by weaving it through several stitches in different directions. Test the closure gently before trimming. Care follows the yarn label.