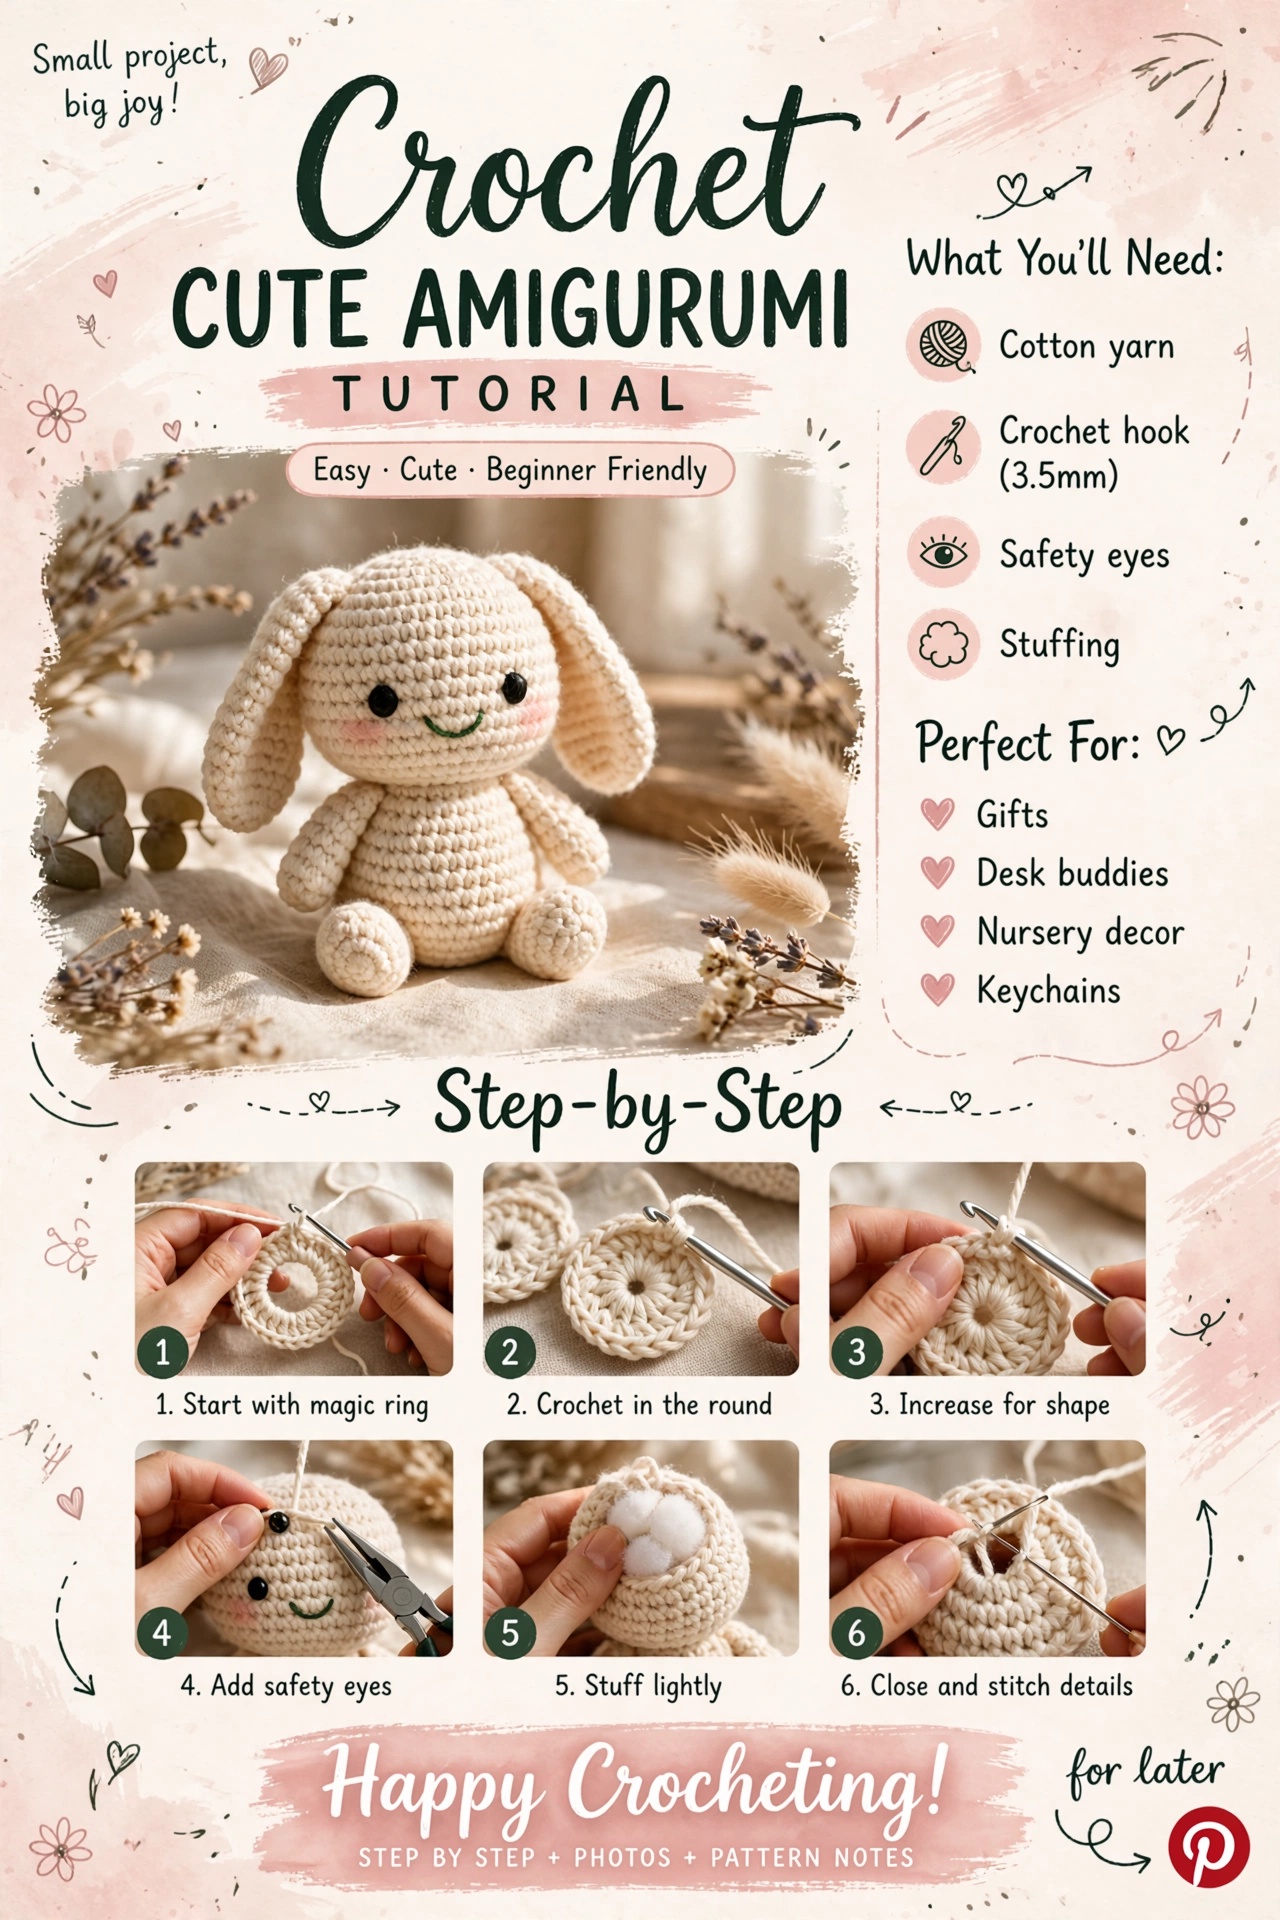
A tiny crocheted creature has no practical reason to be this charming. That is exactly why I love making them.
Why tiny things are so hard to put down
The first time a flat circle starts curving into a little head, amigurumi suddenly makes sense. You are not sewing complicated pieces of fabric. You are building a shape one round at a time. Six stitches become twelve, twelve become eighteen, and before long you are holding a tiny object that did not exist an hour ago.
I also love that small projects give you permission to play. A leftover bit of pink becomes ears. Brown becomes a bear. An odd button inspires a coat. You can be serious about the stitches without being serious about the finished thing.
What I use
For a first amigurumi, I like smooth cotton or acrylic in DK or worsted weight, a hook slightly smaller than I would use for a scarf, a stitch marker, tapestry needle, stuffing and scissors. The smaller hook keeps the fabric firm enough that the stuffing does not peek through.
If the toy is for a small child, embroider the face rather than using removable safety eyes. “Safety” eyes can still be a small-part hazard.
Make a practice ball first
Before ears, legs and tiny sweaters, make one sphere. It teaches almost everything important: working in a spiral, increasing, counting, decreasing and stuffing.
Round 2Increase in every stitch. (12)
Round 3[1 sc, increase] around. (18)
Round 4[2 sc, increase] around. (24)
Rounds 5–8Sc around. (24)
Round 9[2 sc, decrease] around. (18)
Round 10[1 sc, decrease] around. (12)
Stuff now.
Round 11Decrease around. (6). Fasten off and close the opening.
The stuffing lesson I learned quickly
More stuffing does not always mean a nicer shape. Add small pieces at a time and push them toward the sides. I stop before the stitches begin stretching apart. For a round head, roll it gently between your palms and move the filling around until the bumps settle.
And count. Amigurumi is very forgiving emotionally, but the stitch count is not. I move my marker at the end of every round because “I’ll remember where the round started” is a lie I have told myself enough times.
When it finally gets a face
This is my favorite part. Move the eyes around before committing. One stitch higher can make a face look surprised; wider apart can make it sweeter. I pin pieces in place first, put the toy down, come back, and look again. Tiny faces have opinions.
Make the second one different
Once you can make the sphere, change something. Add ears. Make it orange. Give it a ridiculous scarf. The pattern teaches the shape, but those little choices are what make the finished creature feel like yours. That is the small joy of amigurumi for me.
Beginner amigurumi practice ball
Sample yarn: smooth cotton or cotton-blend #3–4 · Hook: 3.5 mm · Finished size: about 6–8 cm (2.5–3 in), depending on tension and stuffing.
Gauge & abbreviations
Gauge is less important than making a dense fabric with no obvious stuffing gaps. sc = single crochet · inc = increase (2 sc in one stitch) · dec = decrease · rnd = round · st = stitch.
Numbered pattern
- Rnd 1: 6 sc in a magic ring. (6)
- Rnd 2: inc around. (12)
- Rnd 3: [sc, inc] around. (18)
- Rnd 4: [2 sc, inc] around. (24)
- Rnds 5–8: sc around. (24 each round)
- Rnd 9: [2 sc, dec] around. (18)
- Rnd 10: [sc, dec] around. (12)
- Add stuffing gradually, then Rnd 11: dec around. (6)
- Fasten off, close the opening, and weave the tail through several stitches on the inside.
Checkpoint
The stitch count should be 6, 12, 18, 24, then 24 for four even rounds, followed by 18, 12 and 6. If it differs, correct the current round before stuffing heavily.
Finishing & care
Use a firm but flexible fill. For children's items, follow applicable safety guidance and secure embroidered features carefully. Clean according to the yarn label.