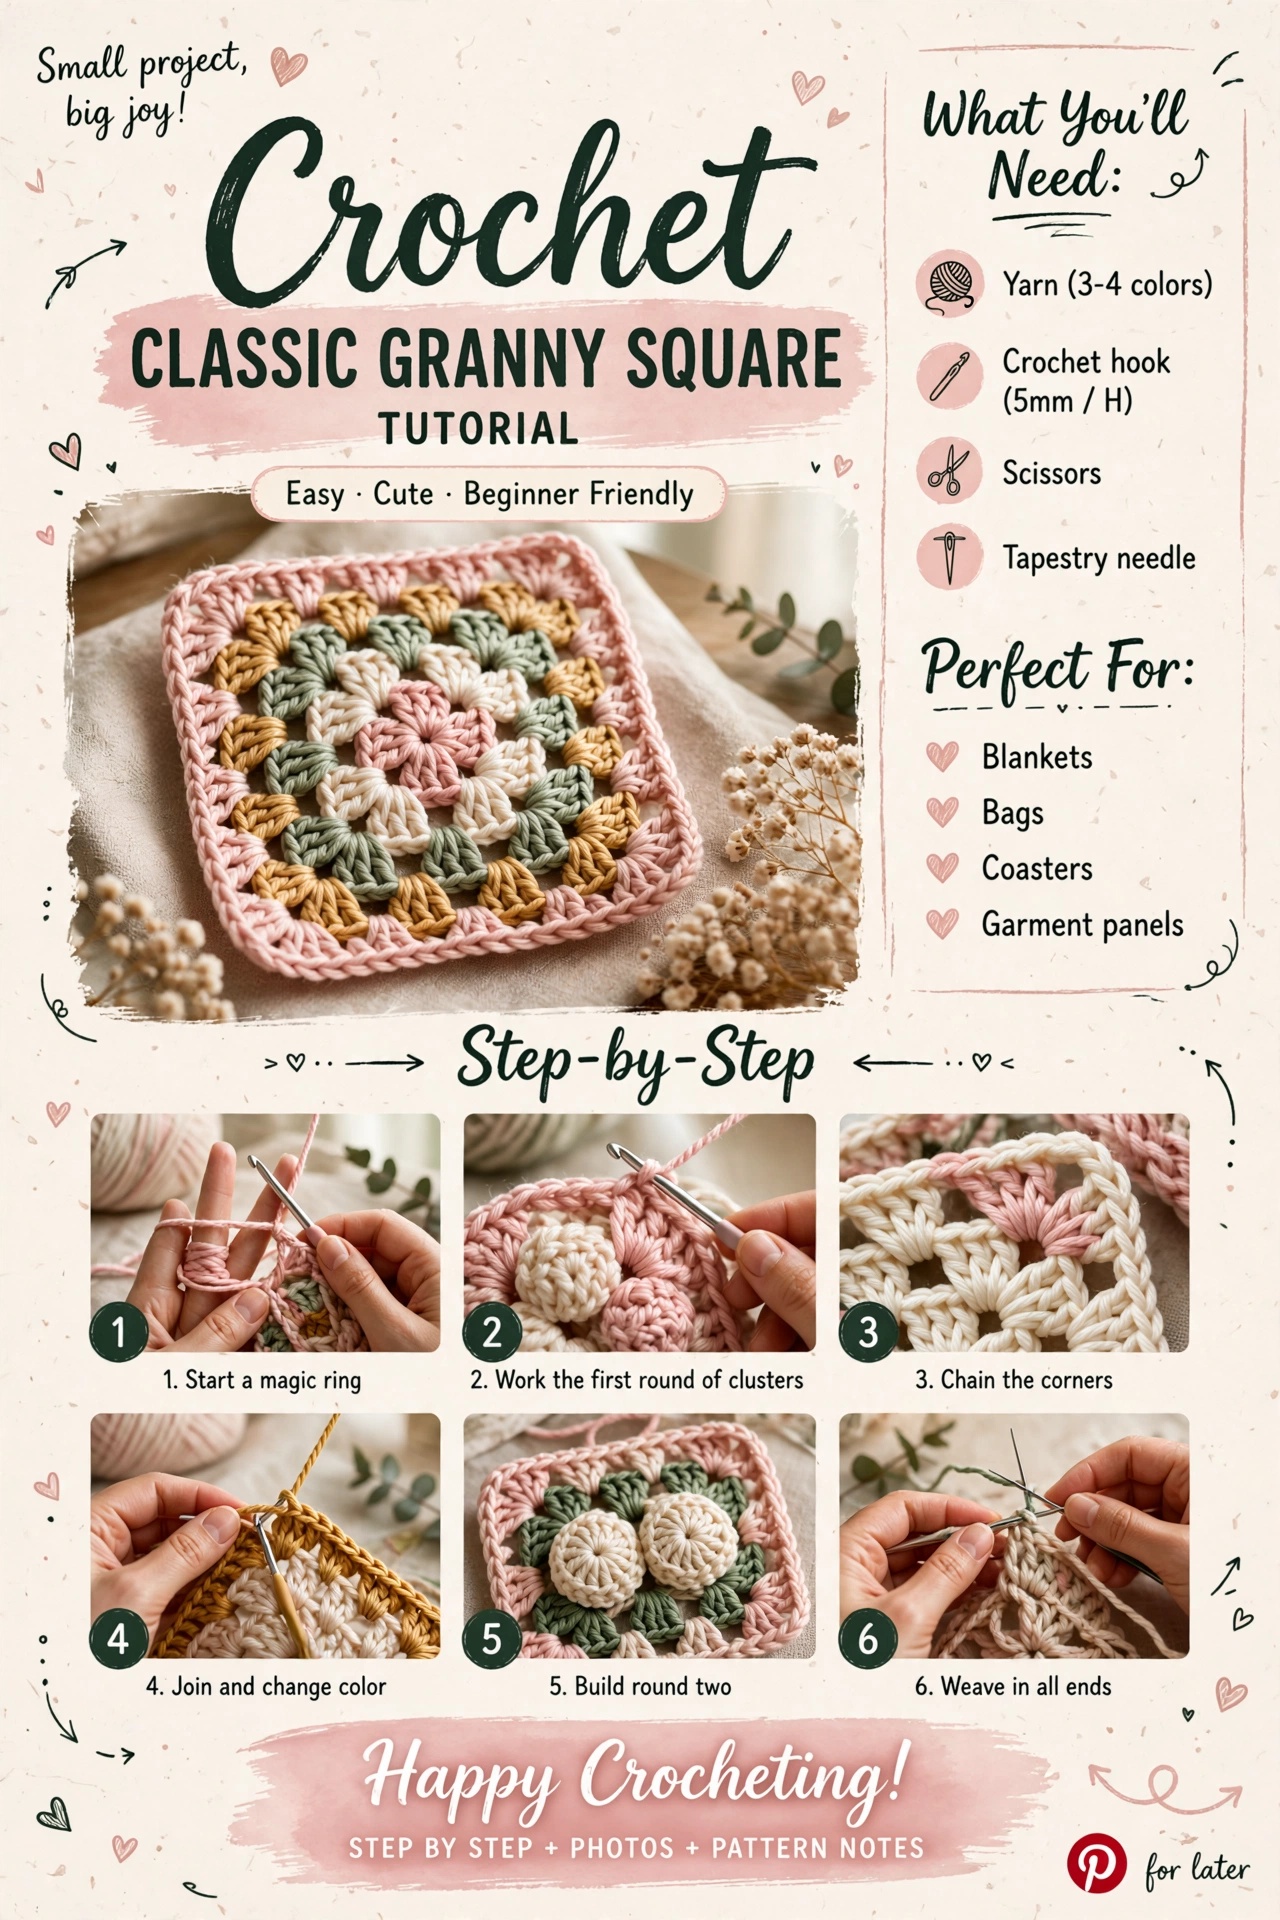
Hey, it’s Sara — here’s a real countable granny square you can use for coasters, bags, blankets, and more.
Hey, it’s Sara
If you’re new here — welcome. I’m Sara, and the classic granny square is the first motif I ever fell in love with. One small square, a few color changes, and suddenly you’ve got coasters, bags, blankets, cardigans… the whole world.
This is a real, countable pattern — not vague “make a square” advice. We’ll work in joined rounds, use US terms, and I’ll tell you the stitch counts so you can check yourself after every round.
Materials
Yarn & hook
- Yarn: Worsted weight (category 4), about 15–20 g per square in the main color. Cotton or acrylic both work.
- Hook: 5.0 mm (H-8). Go up to 5.5 mm if your tension runs tight.
- Scissors, tapestry needle, stitch marker (optional).
Finished size
With worsted + 5.0 mm, one square after 4 rounds is about 4.5–5 in (11–13 cm) across. Add rounds for a bigger motif; keep the same corner math every time.
Abbreviations (US terms)
ch chain · sl st slip stitch · dc double crochet · sp space · st(s) stitch(es)
Classic granny square pattern
Start with a magic ring, or ch 4 and join with a sl st to form a ring — either is fine.
Checkpoints
- After Round 1: 4 corners, equal-looking groups.
- After Round 2: square still sits flat (not cupping or ruffling).
- Every corner is still (3 dc, ch 2, 3 dc).
Troubleshooting
My square cups (bowl shape)
Too few stitches or tight tension. Go up a hook size, or make sure you’re not skipping the side spaces.
My square ruffles
Too many stitches or loose tension. Check you only put one 3-dc group in each side space, not two.
Corners look messy
Always place the corner cluster in the ch-2 space, not in a stitch next to it.
Finishing & joining
Weave in ends on the wrong side. For a blanket, join squares with slip stitch, single crochet, or a flat mattress-style seam. Block lightly if your cotton needs it — steam or wet-block, never high heat on acrylic.
Once this square feels easy, try a solid granny (dc in every stitch with ch-2 corners only) or a two-round mini for bag charms. You’ve got this.
How I keep a granny square actually square
The corner spaces do the shaping. I treat every corner as a checkpoint: two clusters belong there, separated by the corner chain space. The spaces along the sides get only one cluster. If a square suddenly has five corners or one side grows faster than the others, I stop at that round instead of hoping the next round will hide it.
I also turn the square in my hands after each round and look at the center. A slight twist is normal, especially with several rounds of double crochet, but a strong spiral usually means the tension is changing or a cluster has landed in the wrong space.
Turning one square into a project
For a coaster, four rounds in cotton is a useful starting point. For a bag or blanket, make one square first, measure it, and use that measurement before committing to dozens. Ten 5-inch squares laid side by side make about 50 inches before seams and borders; that little bit of planning saves a lot of surprise later.
If the finished squares are slightly different sizes, blocking them before joining makes the seams much easier. If the center is the part giving you trouble, practice the magic ring separately with scrap yarn.
Final note from Sara
Nobody’s first granny is gallery-perfect. Count, breathe, frog if you need to, and make another. The rhythm is the point.
Classic granny square — round-by-round pattern
Sample yarn: worsted-weight #4 · Hook: 5 mm · Finished size: about 10–12 cm (4–5 in) after 4 rounds, depending on yarn and tension.
Gauge & abbreviations
No fixed gauge is required for a standalone square; use the same tension for every square. ch = chain · sl st = slip stitch · dc = double crochet · sp = space · rep = repeat.
Numbered pattern
- Make a magic ring or chain 4 and join. Ch 3, then work 2 dc into the center, ch 2. Repeat 3 more times. Join with a sl st to the top of the starting ch-3.
- Sl st to a corner space. Ch 3, 2 dc, ch 2, 3 dc in the same corner. Ch 1. Repeat the corner sequence in each remaining corner, using ch-1 between corners. Join.
- Move to a corner. Work 3 dc, ch 2, 3 dc in the corner. Ch 1. In each side space work 3 dc, ch 1. Repeat around and join.
- Repeat the same corner construction. Each new round adds one 3-dc group to each side space while corners remain 3 dc, ch 2, 3 dc.
Count and shape
Every corner must have a ch-2 space. If the square becomes a rectangle, check that every side received the same number of clusters and that no corner was accidentally treated as a side space.
Finishing
Block all squares to the same dimensions before joining. Weave ends securely on the back and wash according to the yarn label.