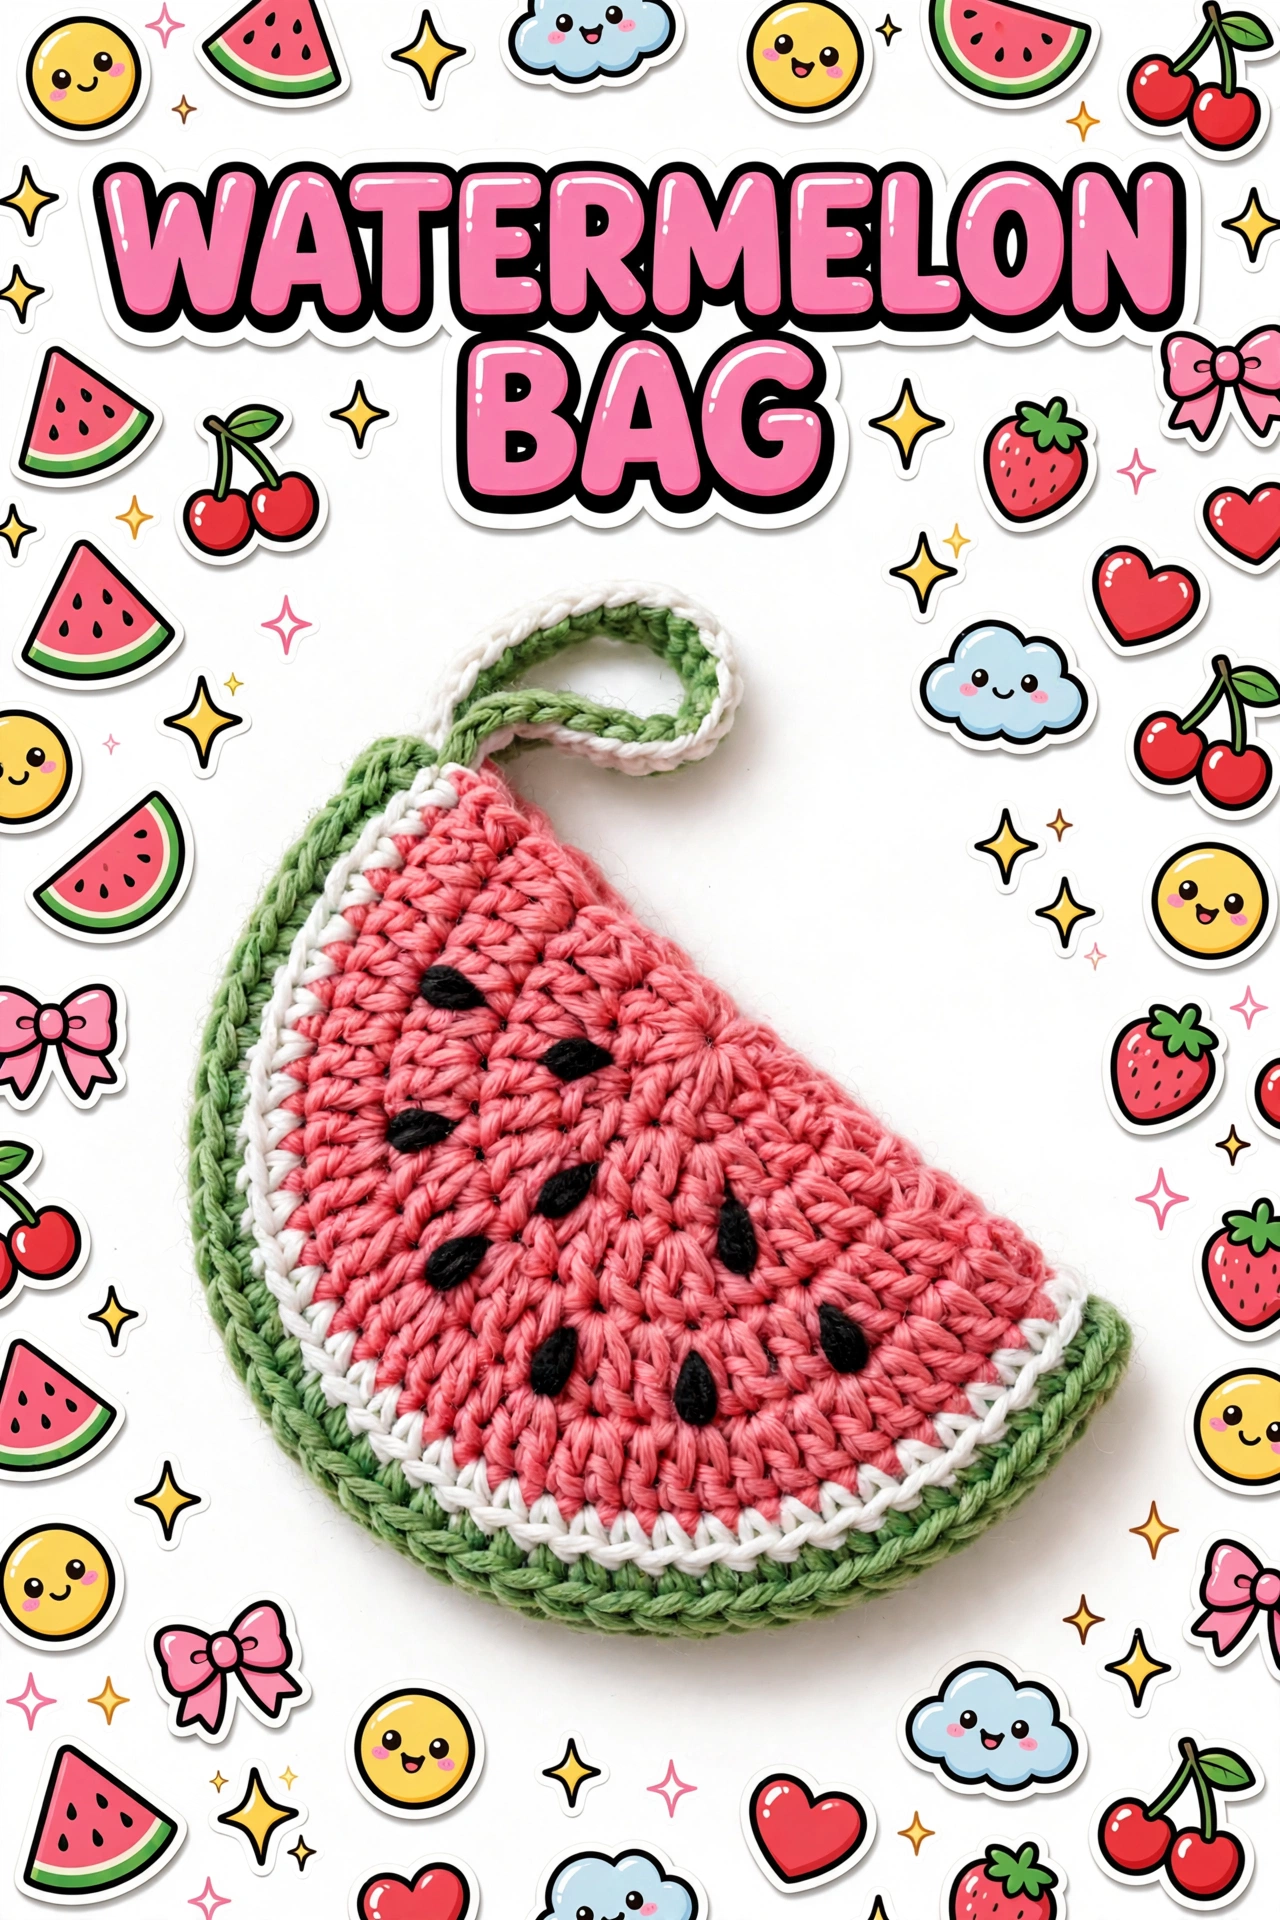
In this tutorial
- What you need
- How a half-circle works
- Panels — 2 identical — 6 rows to 36 sts
- Borders — white pith + green rind
- Seeds — 9 seeds on front only
- Assembly — pouch + loop
- Stitch math
- Final
What you need
MATERIALS:
Pink worsted cotton — 35g — about 84yd — 50g / 120yd per skein
Green worsted cotton — 20g — about 48yd
White worsted cotton — 10g — about 24yd
Black worsted — 5g skein minimum — you will actually use less than 1g for seeds — buy smallest skein you can find
Hook: 4.5mm
Notions: tapestry needle, scissors, 2 stitch markers, measuring tape
Pink worsted cotton — 35g — about 84yd — 50g / 120yd per skein
Green worsted cotton — 20g — about 48yd
White worsted cotton — 10g — about 24yd
Black worsted — 5g skein minimum — you will actually use less than 1g for seeds — buy smallest skein you can find
Hook: 4.5mm
Notions: tapestry needle, scissors, 2 stitch markers, measuring tape
How a half-circle works
A normal circle grows all the way around. A half-circle grows half — you turn at the end of each row. The flat edge becomes the top of your watermelon slice. You increase 6 stitches every row so it stays flat.

Half-circle — turn each row — +6 per row — 36 sts final =6in wide
Count every row — 6, 12, 18, 24, 30, 36. If your half-circle curls, you missed increases. If it ruffles, you added too many.
Panels — 2 identical — 6 rows to 36 sts
Make 2 panels — identical shape — seeds only on front later

Both panels same — 6 rows — 6in wide ×3in tall — front will get 9 seeds, back stays plain
HALF-CIRCLE — Pink, 4.5mm — Work in rows, turn each row — One sequence only:
R1: Magic ring, ch1, 6 sc in ring — 6 sc — pull tight — turn — 1in wide
R2: Ch1, inc in each st (2 sc in each st) — 12 sc — turn
R3: Ch1, (sc, inc) ×6 — 18 sc — turn
R4: Ch1, (2 sc, inc) ×6 — 24 sc — turn
R5: Ch1, (3 sc, inc) ×6 — 30 sc — turn
R6: Ch1, (4 sc, inc) ×6 — 36 sc — turn — 6in wide ×3in tall half-circle — fasten off pink, leave 6in tail
Make a second panel exactly the same — 6→12→18→24→30→36 — 36 sc — 6in wide
You now have 2 identical pink half-circles — front and back — same size, same stitch count.
R1: Magic ring, ch1, 6 sc in ring — 6 sc — pull tight — turn — 1in wide
R2: Ch1, inc in each st (2 sc in each st) — 12 sc — turn
R3: Ch1, (sc, inc) ×6 — 18 sc — turn
R4: Ch1, (2 sc, inc) ×6 — 24 sc — turn
R5: Ch1, (3 sc, inc) ×6 — 30 sc — turn
R6: Ch1, (4 sc, inc) ×6 — 36 sc — turn — 6in wide ×3in tall half-circle — fasten off pink, leave 6in tail
Make a second panel exactly the same — 6→12→18→24→30→36 — 36 sc — 6in wide
You now have 2 identical pink half-circles — front and back — same size, same stitch count.
Both panels are identical in shape. Only difference comes later: front gets 9 embroidered seeds, back stays plain. This keeps your stitch counts locked and your seaming easy.
Borders — white pith + green rind
BORDER — Work on each panel separately — White then Green:
White pith — White, 4.5mm:
R7: Attach White to first st of R6 curved edge, ch1, sc 36 around curved edge only — 36 sc — white pith about 0.25in thick
Green rind — Green, 4.5mm:
R8: Attach Green to first white st, ch1, sc 36 around curved edge — 36 sc — first green round
R9: Ch1, sc 36 around curved edge again — 36 sc — second green round — total green 0.7in thick
Fasten off green, leave 12in tail for seaming.
Repeat R7-R9 on second panel so both panels have white + green border.
Final panel size: pink 3in + white 0.25in + green 0.7in = about 4in tall measured — 6in wide
White pith — White, 4.5mm:
R7: Attach White to first st of R6 curved edge, ch1, sc 36 around curved edge only — 36 sc — white pith about 0.25in thick
Green rind — Green, 4.5mm:
R8: Attach Green to first white st, ch1, sc 36 around curved edge — 36 sc — first green round
R9: Ch1, sc 36 around curved edge again — 36 sc — second green round — total green 0.7in thick
Fasten off green, leave 12in tail for seaming.
Repeat R7-R9 on second panel so both panels have white + green border.
Final panel size: pink 3in + white 0.25in + green 0.7in = about 4in tall measured — 6in wide
Seeds — 9 seeds on front only
SEEDS — Black, tapestry needle — Front panel only — 9 seeds:
Cut black yarn about 24in to work with.
On ONE panel only (front), embroider 9 small straight stitches 0.4in long scattered like seeds:
Center row: 3 seeds spaced 0.6in apart
Middle row: 3 seeds offset
Outer row: 3 seeds near edge
Back panel: no seeds — leave plain pink
Why front only: It looks cuter, saves time, and makes it clear which side is front. Both panels are still same shape — only embroidery differs.
Cut black yarn about 24in to work with.
On ONE panel only (front), embroider 9 small straight stitches 0.4in long scattered like seeds:
Center row: 3 seeds spaced 0.6in apart
Middle row: 3 seeds offset
Outer row: 3 seeds near edge
Back panel: no seeds — leave plain pink
Why front only: It looks cuter, saves time, and makes it clear which side is front. Both panels are still same shape — only embroidery differs.
Assembly — pouch + loop
ASSEMBLY — Whip stitch with Green:
1. Place 2 panels wrong sides together — green edges aligned — flat top edges aligned — 6in opening at top
2. Seam curved edge: whip stitch green to green — 36 sts along curve — leave flat top open
3. Loop: Green + White held together — ch 12 — sl st to first ch to make loop — 2.5in loop — attach to one side of flat top with 2 sc
Finished pouch: 6in wide ×3in tall closed, 5in tall with loop, 6in opening — fits AirPods, lip gloss, coins
1. Place 2 panels wrong sides together — green edges aligned — flat top edges aligned — 6in opening at top
2. Seam curved edge: whip stitch green to green — 36 sts along curve — leave flat top open
3. Loop: Green + White held together — ch 12 — sl st to first ch to make loop — 2.5in loop — attach to one side of flat top with 2 sc
Finished pouch: 6in wide ×3in tall closed, 5in tall with loop, 6in opening — fits AirPods, lip gloss, coins
Stitch math
HALF-CIRCLE — VERIFIED — Single sequence:
6→12→18→24→30→36 — +6 per row — 6 rows — 36 sc final — 18 sc =4in at gauge — 36 sc =8in half-circumference — 6in diameter flat — measured 6in wide ×3in tall
BORDERS:
White 36 sc ×1 round =0.25in — Green 36 sc ×2 rounds =0.7in — total height about 4in
YARN — HONEST:
Pink: 126 sc per panel (6+12+18+24+30+36) =126 ×2 panels =252 sc — my scale said 35g used — about 0.14g per sc at my tension — listing 35g
Green: 72 sc per panel (36×2) ×2 panels =144 sc — 20g used
White: 36 sc per panel ×2 panels =72 sc — 10g used
Black: 9 seeds ×0.4in each =3.6in of embroidery — actual yarn used under 1g — I list 5g as minimum skein to buy, not as weight used — you will have leftovers
Total yarn used: about 66g + leftover black skein
6→12→18→24→30→36 — +6 per row — 6 rows — 36 sc final — 18 sc =4in at gauge — 36 sc =8in half-circumference — 6in diameter flat — measured 6in wide ×3in tall
BORDERS:
White 36 sc ×1 round =0.25in — Green 36 sc ×2 rounds =0.7in — total height about 4in
YARN — HONEST:
Pink: 126 sc per panel (6+12+18+24+30+36) =126 ×2 panels =252 sc — my scale said 35g used — about 0.14g per sc at my tension — listing 35g
Green: 72 sc per panel (36×2) ×2 panels =144 sc — 20g used
White: 36 sc per panel ×2 panels =72 sc — 10g used
Black: 9 seeds ×0.4in each =3.6in of embroidery — actual yarn used under 1g — I list 5g as minimum skein to buy, not as weight used — you will have leftovers
Total yarn used: about 66g + leftover black skein
Final

Final — 6in wide ×3in tall — 5in with loop — 70g total yarn (35+20+10+5g skein) — 9 seeds front only

Hey, it's Sara
SARA RAIN CROCHET · HANDMADE WITH LOVE
Thank you for making this little watermelon bag with me. It's small, happy, and perfect for summer. If you make one, tag me — I love seeing your fruity bags.
— Sara