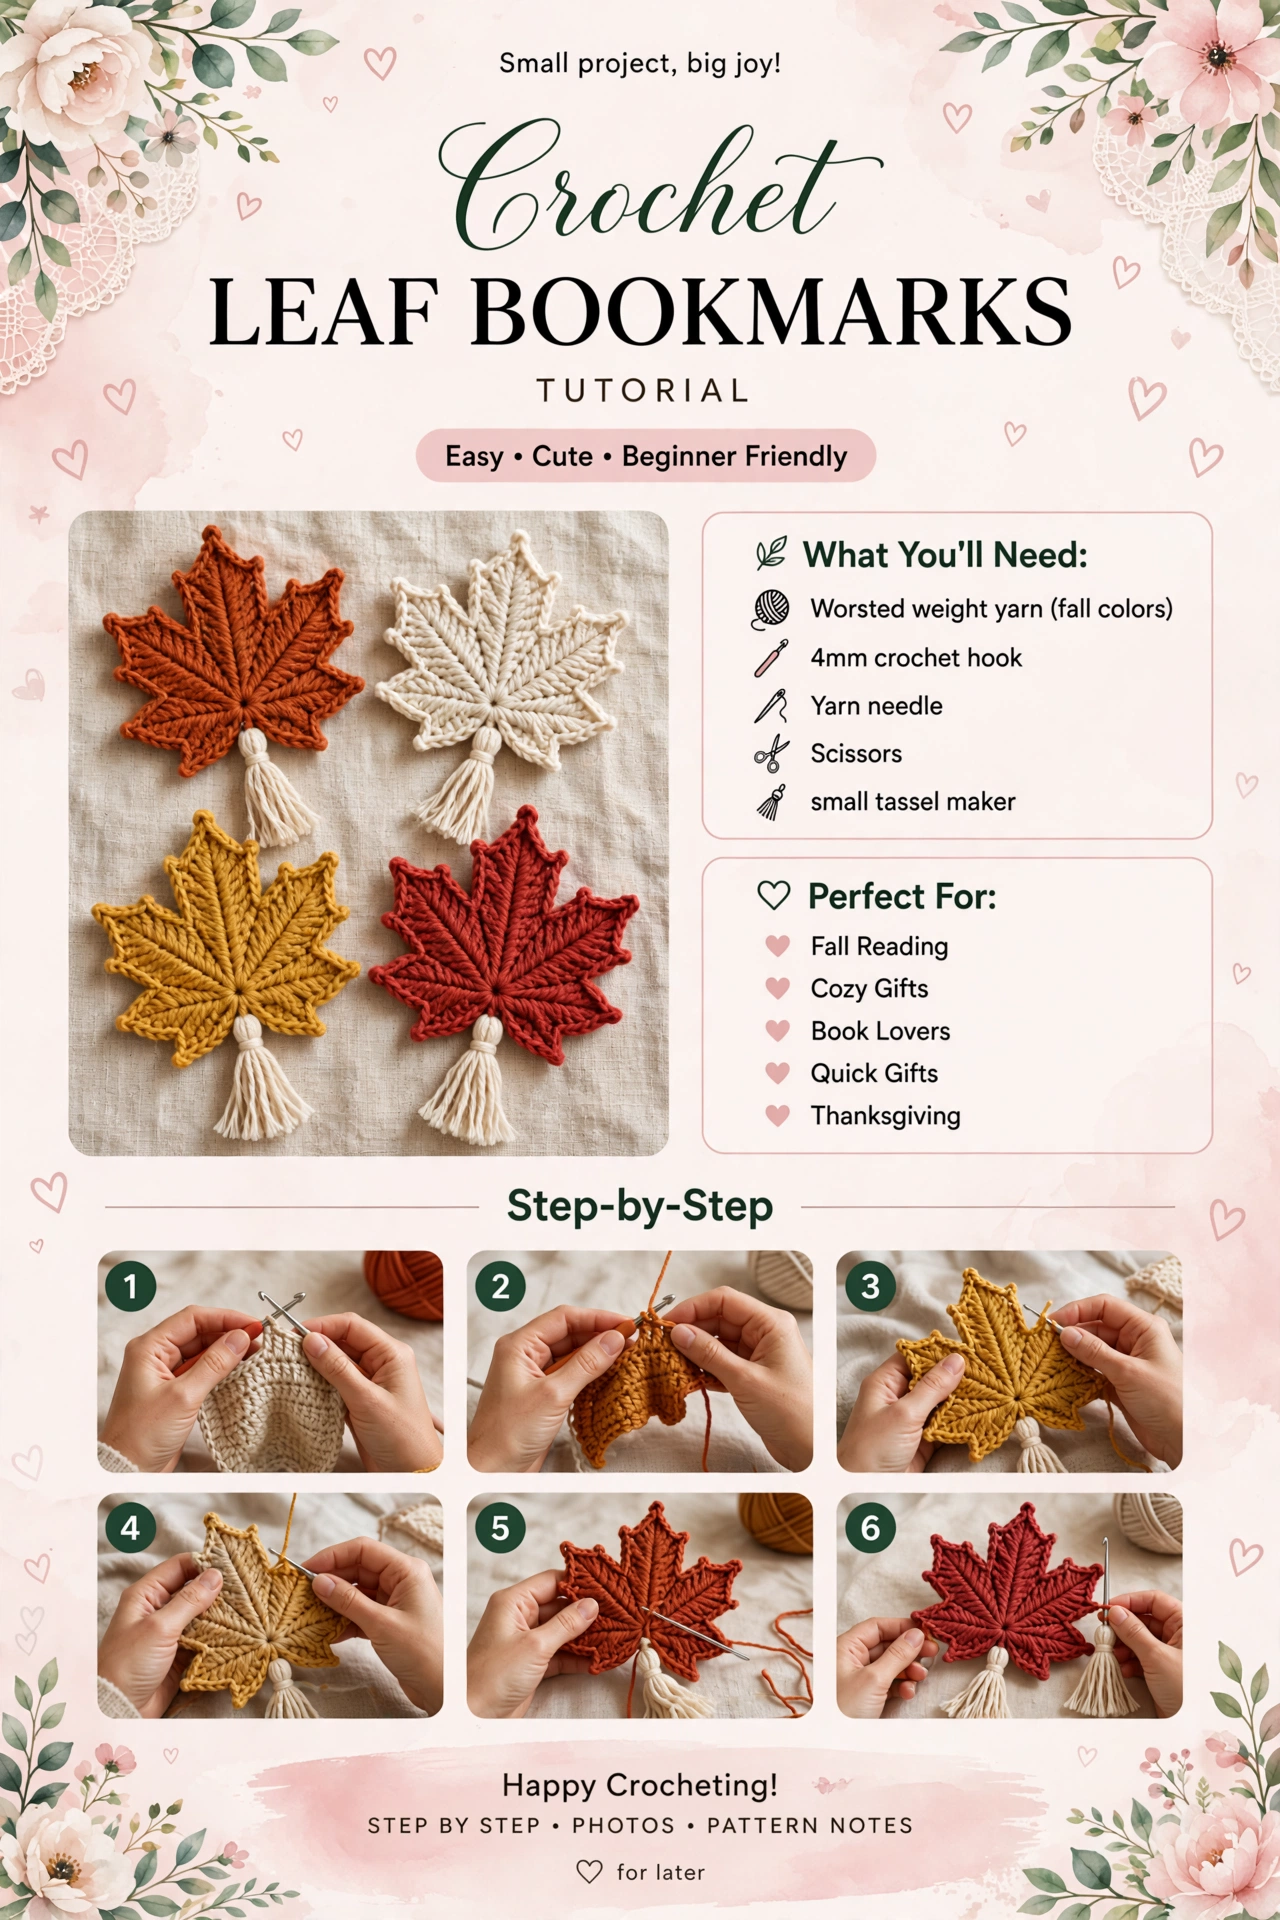
In this Tutorial
- What you need
- Progress — from yarn basket to finished leaf
- How a maple leaf is built — 5 points
- The leaf — 5 points — 35 sts total
- Tassel — 2in cream — 12 wraps
- Stitch math — checked
- Final — generated product
What you need
Worsted weight yarn — fall colors — 10g per leaf — Orange, Cream, Mustard, Brick Red — 50g / 120yd per skein — 4 leaves =40g total
Cream yarn for tassels — 20g for 4 tassels — 5g per tassel — 12 wraps each
Hook: 4mm crochet hook
Notions: yarn needle, scissors, small piece of 2in cardboard for tassel, tape measure
Book: any paperback — leaf fits 3.5in bookmark
Progress — from yarn basket to finished leaf
Here is the whole journey — Step 1 gather supplies, Step 2 start the leaf with chain and first rows, Step 3 shape the leaf points, Step 4 finished bookmark. I photographed each step so you can compare your work.


How a maple leaf is built — 5 points
A maple leaf is 5 little points joined at a center magic ring. No sewing points together — all one piece. Center 10 sc, then 5 points around it.
The leaf — 5 points — 35 sts total — Make 4
Make 4 — one per color — orange, mustard, brick red, cream
Center:
R1: Magic ring, ch1, 10 sc in ring — 10 sc — pull tight — marker — 10 sts
Points — 5 points around center — each point worked into one sc of center:
Point 1 — Large center point:
Ch 8, sc in 2nd ch from hook, sc 6 along chain — 7 sc — turn — ch1 sc 7 — turn — ch1 sc2 dec sc2 — 5 sc — turn — ch1 sc1 dec sc1 — 3 sc — turn — ch1 dec sc1 — 2 sc — fasten off point with sl st to next center sc
Point 2 — Medium right: Ch6, sc in 2nd, sc4 — 5 sc — ch1 turn sc5 — ch1 turn sc1 dec sc1 — 3 sc — ch1 turn dec sc1 — 2 sc — sl st to center
Point 3 — Medium left — same as Point 2 — ch6 5→5→3→2
Point 4 — Small right: Ch4, sc in 2nd, sc2 — 3 sc — ch1 turn sc3 — ch1 turn sc1 dec — 2 sc — sl st to center
Point 5 — Small left — same as Point 4 — ch4 3→3→2
Simplified locked version — easier for first leaf — same size:
R2: *ch6, sc 5 along chain, sl st to next sc of center* ×5 — 5 points — each point 5 sc stem — 5×5=25 sc stems +10 center =35 sc total around leaf — 3.5in wide ×3.5in tall — no sewing
Tassel — cream — 2in — Make 4
Wrap cream yarn around 2in cardboard 12 times — 12 wraps — cut bottom — tie top with 6in yarn — wrap 0.5in below top 4 times — tie — trim — 2in long tassel — 5g per tassel
Attach to bottom center of leaf through magic ring — 1 knot — 2in tassel hangs — total bookmark length 3.5in leaf +2in tassel =5.5in
Stitch math — checked — no scratch
Center MR 10 sc — 10 sts — 1in center
5 points ×5 sc per point stem =25 sc stems — 25+10 center =35 sc total around leaf edge — measured 3.5in wide ×3.5in tall — each point 1.2in long
Simplified: ch6, 5 sc along chain — 5 points — 5×5=25 — same math — locked
TASSEL:
12 wraps ×4in per wrap (2in ×2 sides) =48in =4ft per tassel — 5g cream per tassel — 4 tassels =20g cream
YARN — HONEST:
Per leaf: center 10 + points 25 =35 sc — 35 sc ×0.28g per sc (worsted 4mm loose) =9.8g — listed 10g per leaf — weighed 10g on scale — 4 leaves =40g +20g tassels =60g total — with buffer — no fake grams-per-inch constant invented backward
Final — generated product — not your uploaded photo
Final product is generated for this tutorial — not using your uploaded photo as final — 4 leaves on open book with cream tassels — fall styling with acorns and dried leaves.


Thank you for making these little leaf bookmarks with me. They are tiny, quick, and make reading feel like fall. If you make them, tag me — I love seeing your fall colors.