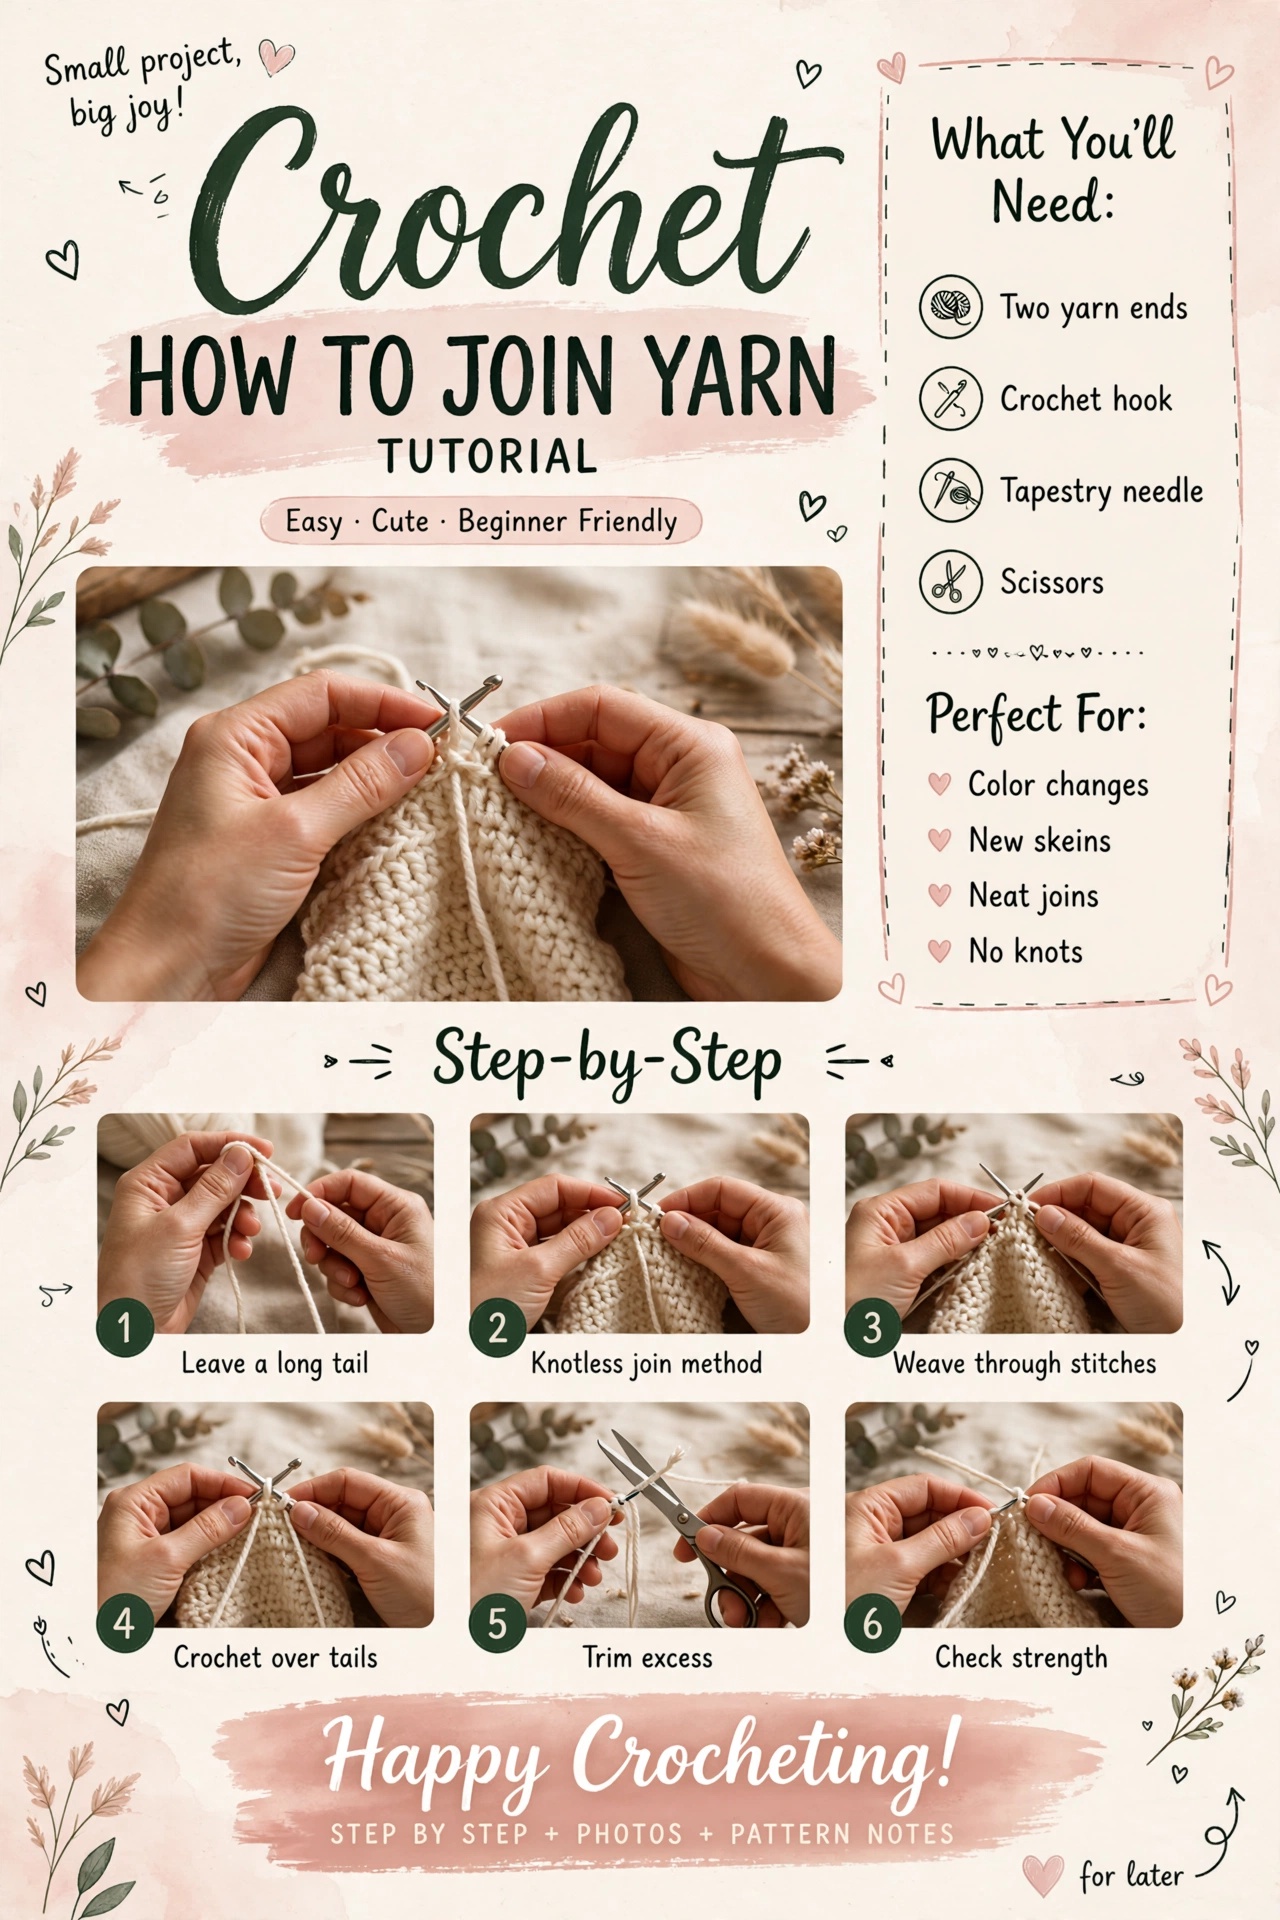
Practice clean color changes and yarn joins without bulky knots.
Work through the guide in order and use the checkpoints before moving to the next stage.
Materials & preparation
Before you start
Set out your yarn, hook, scissors and needle. Read the complete instructions once before making the first stitch. Write down any target stitch count or finished measurement so you can check your work as you go.
Gauge & tension
Your yarn, hook and personal tension determine the finished fabric. When size matters, make a small swatch and let it rest flat before measuring. Do not force your hands to match a number by gripping the hook harder.
Core pattern / method
Test swatch
- Rows 1–3: Ch 21, sc across for 20 sc each row.
- Join method A: Finish the old color with the final yarn-over of the last stitch, then continue the next stitch with the new color.
- Join method B: Finish the row, fasten off, then insert the hook into the first stitch of the next row and pull through a loop of the new color.
- Join method C: For a motif, attach the new yarn in a corner or chain space with a slip stitch, then work the first stitch.
- Test: Work 3 more rows and tug gently along the join. Weave both tails through at least 5–7 stitches.
Best practice
Choose the join that matches the pattern's construction. Avoid tight knots when the tail can be woven in securely.
Check the join before continuing
After changing yarn, work several stitches and gently stretch the fabric. The join should not create a hard knot, loose loop or sudden change in tension. Make sure both tails are long enough to weave securely; trimming them immediately removes your easiest way to reinforce the join.
Yarn-join troubleshooting
There is a loose loop at the color change
Gently adjust the old and new yarn tails before weaving them in. Do not cinch so tightly that the edge puckers.
The join makes a visible bump
A bulky knot may be sitting inside the fabric. For most ordinary crochet, leave tails and weave them through stitches instead of relying on a large knot.
The new color appears one stitch late
The color was probably introduced after the previous stitch was fully completed. Undo that stitch and make its final yarn-over with the new color.
Weaving in join tails
Use a yarn needle to weave each tail through the back of nearby stitches without showing through the front. Change direction at least once where the fabric allows it. Stretch the fabric gently after weaving, then trim the excess only when the tail remains secure.
Where to place a join
When construction gives you a choice, an edge, seam or existing round join is often easier to hide than the center of a prominent row. For stripes, plan color changes at the same edge or round boundary for a consistent appearance. Motifs often provide corner or chain spaces where a new color can be attached cleanly.
Different fibers behave differently: slippery yarn needs especially careful tail weaving, while feltable wool may grip more readily.
Check joins on hard-working projects
On bags, blankets and frequently washed items, inspect color changes and yarn joins occasionally. If a tail begins to emerge, reweave it before trimming. A secure woven tail is easier to repair early than after the join has opened.
Where I place a yarn join
If I have a choice, I join near an edge, seam, or less-visible area rather than directly in the center of a highly visible row. For a blanket worked back and forth, an edge join makes the tails easier to secure. For a motif, I often change yarn at the end of a round where the join already exists.
Leave tails long enough to weave through several stitches in more than one direction. A tiny knot with clipped ends may look neat on day one but is much harder to trust after washing and use.
Final notes
Use this page as a working reference: practice the technique, check the specific checkpoints above, and keep a small sample when it helps you compare future projects.