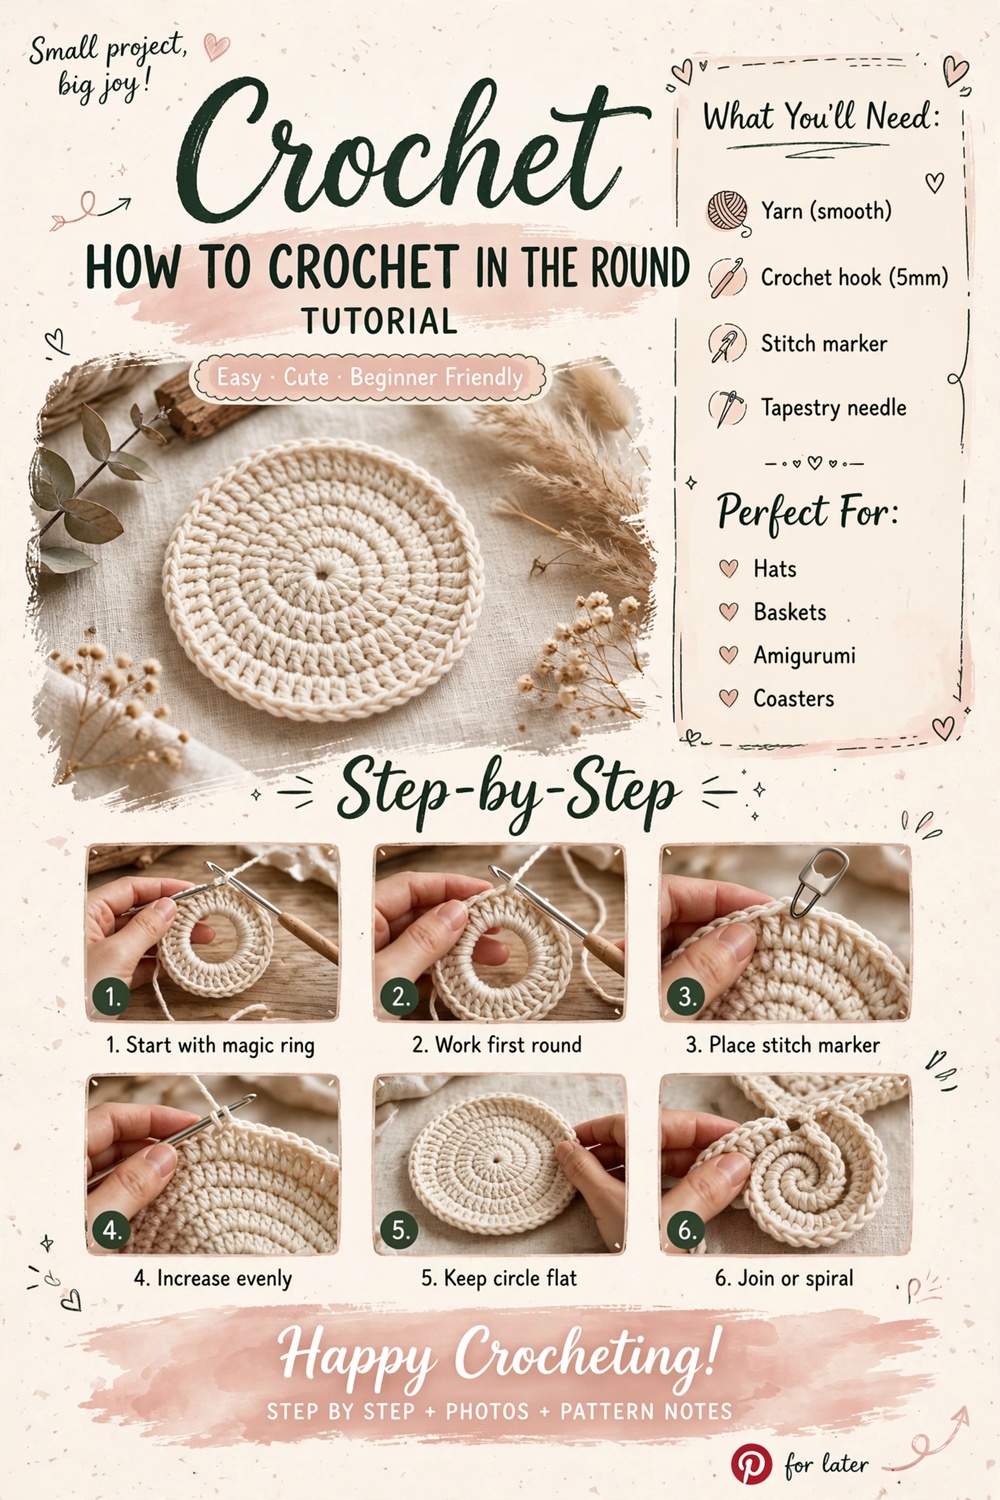
Make a flat six-round circle by increasing at regular intervals.
Work through the guide in order and use the checkpoints before moving to the next stage.
Materials & preparation
Before you start
Set out your yarn, hook, scissors and needle. Read the complete instructions once before making the first stitch. Write down any target stitch count or finished measurement so you can check your work as you go.
Gauge & tension
Your yarn, hook and personal tension determine the finished fabric. When size matters, make a small swatch and let it rest flat before measuring. Do not force your hands to match a number by gripping the hook harder.
Core pattern / method
Materials
- Worsted yarn, 30 yd / 27 m
- 5 mm hook
Abbreviations
MR = magic ring · sc = single crochet · inc = increase · sl st = slip stitch
Pattern
- Round 1: MR, 6 sc. 6 st.
- Round 2: Inc in each st. 12 st.
- Round 3: [Sc 1, inc] around. 18 st.
- Round 4: [Sc 2, inc] around. 24 st.
- Round 5: [Sc 3, inc] around. 30 st.
- Round 6: [Sc 4, inc] around. 36 st.
- Finish: Sl st, fasten off and weave in ends.
Flat-circle check
If the circle cups, add increases more often. If it ruffles, use fewer increases. Even tension also matters.
Round-by-round checkpoints
Move a stitch marker into the first stitch of every round if you are working continuously. The sample circle grows by six stitches each round: 6, 12, 18, 24, 30, then 36. Stop immediately if your count does not match; one missed increase changes every later round.
Why a crochet circle cups or ruffles
The circle turns into a bowl
First verify that every scheduled increase was made. If the stitch count is correct, your yarn-and-hook combination may need slightly more room; relax tension or test a larger hook.
The edge ruffles
Recount before changing anything. Extra increases create excess fabric. If the count is correct, the standard six-increase formula may not suit that yarn and stitch tension exactly, so compare a swatch before continuing a large project.
I cannot find the first stitch
Place a locking marker in the first stitch as soon as you make it. In a spiral there is no slip-stitch seam to show where a round begins.
Ending joined rounds and spirals
For joined rounds, follow the pattern's slip-stitch and starting-chain instructions because those affect the seam. For a continuous spiral, finish after the final counted stitch and use a slip stitch or an invisible finish if a smooth edge matters. Weave the center tail securely after the magic ring is closed.
Joined rounds vs continuous spirals
Continuous rounds are common in amigurumi because they avoid a stacked joining seam. Joined rounds are useful for motifs, stripes and projects where each round needs a clear beginning and end. Do not switch between the two methods mid-pattern unless you understand how the turning or joining stitches are counted.
Once the six-round sample stays flat, use the same increase logic to understand hats, coasters and circular bag bases.
Keep a round-count record
For anything larger than a practice circle, write down the last completed round before putting the project away. Leave the stitch marker in place. That simple record prevents accidentally repeating or skipping an increase round when you return later.
Joined rounds and continuous rounds are not interchangeable
For amigurumi I prefer continuous rounds because they avoid a visible joining seam. Put a stitch marker in the first stitch of every round and move it each time you reach it. For flat circles, motifs, and projects where each round changes color, joined rounds can make the beginning and end easier to identify.
If a flat circle starts turning into a bowl, check the increase count before changing hook size. If it ruffles, there may be too many increases. Start with the magic ring tutorial if the center itself is the difficult part.
Final notes
Use this page as a working reference: practice the technique, check the specific checkpoints above, and keep a small sample when it helps you compare future projects.
Flat-circle practice pattern
Sample yarn: cotton #3–4 · Hook: 4 mm · Finished size: about 8–10 cm (3–4 in) after 4 rounds, depending on tension.
Abbreviations
ch = chain · sc = single crochet · sl st = slip stitch · inc = increase · rnd = round.
Numbered pattern
- Rnd 1: Make a magic ring and work 6 sc into it. (6)
- Rnd 2: Inc in every stitch. (12)
- Rnd 3: [sc, inc] around. (18)
- Rnd 4: [2 sc, inc] around. (24)
- Join with a sl st when using joined rounds, or continue into the next stitch for continuous rounds.
Shape checkpoint
Lay the circle flat after every round. Cupping usually means the fabric needs more width; strong rippling can mean the increase rate is too high for your yarn and tension. Check the pattern before changing it.
Finishing & care
Mark the first stitch of each round and record the final count. Wash and dry according to the yarn label.