What we'll make
- How she came to be
- What you need
- Size notes
- Abbreviations
- Roadmap
- Step 1: Head — big and round with cheeky eyes
- Step 2: Body + belly patch
- Step 3: Arms and legs with little toes
- Step 4: Witch hat — purple with yellow stars
- Step 5: Assembly and that cute smile
- Finishing touches
- Troubleshooting
- Make her yours
How she came to be
I didn't set out to make a witch frog. I had this ball of sage green I loved but couldn't figure out what to do with — too light for a dinosaur, too yellow for a turtle. My friend said "make a frog" and I did, just a plain round head. It looked... like a pea. Then I had leftover purple from a mushroom hat and I thought, what if?
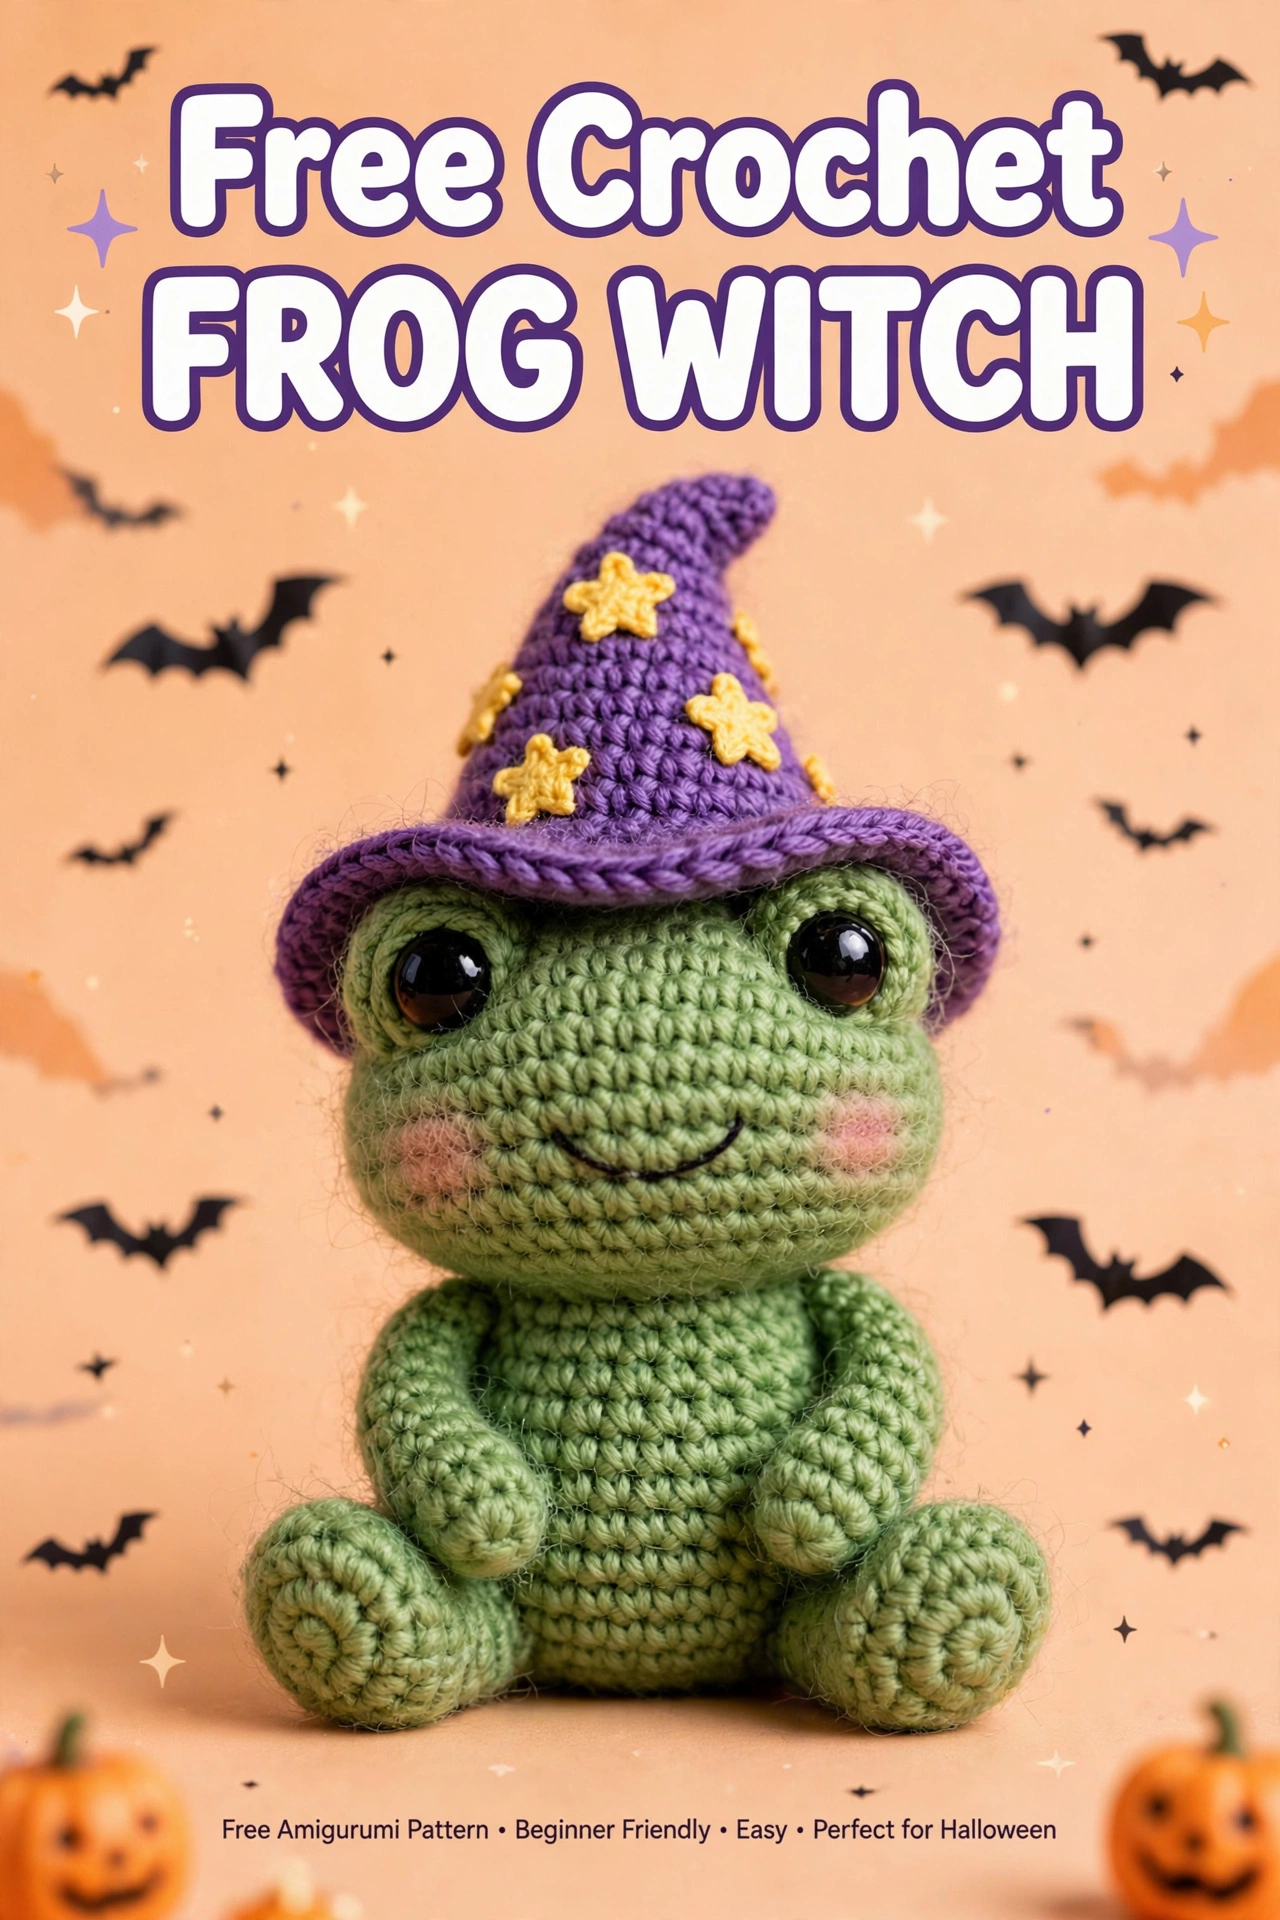
The hat is what makes her. First version was too tall and fell over. Second was too tight and wouldn't stay on. This version has a wider brim and a soft bend at the tip — I stuff just the base of the cone lightly and leave the tip floppy so it flops like in the photo.
She now sits by my front door in October and greets the kids. My daughter calls her "Mrs. Ribbert."
What you need
- Yarn: Chunky cotton — Sage green ~90g (my color: YarnArt Jeans 29), Purple ~40g, Mustard yellow ~10g for stars, Black scrap for smile
- Hook: 4.0mm
- Eyes: 16mm black safety eyes — placed between Rounds 11 and 12, 8 stitches apart. Pin first! If for under 3 years, embroider.
- Extras: Polyfill, tapestry needle, stitch markers, pins

Head started — magic ring to 36, first few even rounds. Should be a deep bowl shape at this point.
Size notes
Mine is 5.5" sitting without hat, 8.5" with hat. Head 3.5" wide — that's what gives her that baby-frog look. With DK yarn and 3.5mm hook, she'll be about 4.5" sitting.
Abbreviations
mr — magic ring, ch — chain, sc — single crochet, inc — 2 sc in same st, dec — invisible decrease, sl st — slip stitch, FO — fasten off, [...] x6 — repeat. Work in spiral, move marker.
Roadmap
1. Head — 6→42 (bigger than kitten/fox for that frog cheek)
2. Body — 6→30 with separate light green belly oval
3. Arms x2 + Legs x2 with 3 toes each
4. Witch hat — cone 6→36 + brim + 5-point stars x6
5. Assembly — face, then body, then hat tacked on
Step 1: Head — big and round with cheeky eyes
R1: mr, 6 sc (6)
R2: inc x6 (12)
R3: [sc 1, inc] x6 (18)
R4: [sc 2, inc] x6 (24)
R5: [sc 3, inc] x6 (30)
R6: [sc 4, inc] x6 (36)
R7: [sc 5, inc] x6 (42) — circle ~3" across
R8-R13: sc around 42 — 6 rounds even (42)
Place eyes between R11 and R12, 8 sts apart. I put pins, look straight on, then snap.
R14: [sc 5, dec] x6 (36)
R15: [sc 4, dec] x6 (30)
R16: [sc 3, dec] x6 (24) — start stuffing, firm and round
R17: [sc 2, dec] x6 (18)
R18: [sc 1, dec] x6 (12)
R19: dec x6 (6) — close
She should be very round, almost like an apple. If yours looks pointy on top, you missed an increase in R5-R7. Count — it's easier to fix before you put eyes in.

Body and arms started — you can see the light green belly oval starting to take shape.
Step 2: Body + belly patch
R1: mr, 6 (6)
R2: inc x6 (12)
R3: [sc 1, inc] x6 (18)
R4: [sc 2, inc] x6 (24)
R5: [sc 3, inc] x6 (30)
R6-R13: sc 30 — 8 rounds straight
R14: [sc 3, dec] x6 (24)
R15-R16: sc 24 — 2 rounds
FO, leave long tail, stuff firm, slightly flatten bottom
Belly — in light sage / off-white green:
Ch 8, sc in 2nd ch, sc 5, 3 sc in last, turn, sc 5, inc (16)
R2: inc, sc 5, inc x3, sc 5, inc x2 (22)
R3: sc 1, inc, sc 5, [sc 1, inc] x3, sc 5, [sc 1, inc] x2 (28)
R4: sc 28 — FO, leave tail. Sew to front center of body with matching yarn.
Step 3: Arms and legs with little toes
R1: mr, 6 (6)
R2: [sc 1, inc] x3 (9)
R3-R11: sc 9 — 9 rounds
At end: flatten, sc 2 toes — [ch 2, sc in 2nd ch, sl st in next st] x3. FO
Legs — make 2 in green:
R1: mr, 6 (6)
R2: inc x6 (12)
R3-R4: sc 12 — 2 rounds
R5: [sc 1, inc] x6 (18)
R6-R10: sc 18 — 5 rounds
R11: [sc 1, dec] x6 (12) — stuff lightly
At bottom: add 3 toes same as arms, FO
The toes are what make people go "ohhh" at markets. They're just little chains — nothing fancy. I do 3 per foot, 2 for hands if you want daintier hands.
Step 4: Witch hat — purple with yellow stars
R1: mr, 4 sc (4)
R2: [sc 1, inc] x2 (6)
R3: sc 6
R4: [sc 2, inc] x2 (8)
R5: sc 8
R6: [sc 3, inc] x2 (10)
R7: sc 10
R8: [sc 4, inc] x2 (12)
R9: sc 12
R10: [sc 5, inc] x2 (14)
R11: sc 14
R12: [sc 6, inc] x2 (16)
R13: sc 16
R14: [sc 7, inc] x2 (18)
R15: sc 18
R16: [sc 8, inc] x2 (20)
R17: sc 20
R18: [sc 4, inc] x4 (24)
R19: [sc 5, inc] x4 (28)
R20: [sc 6, inc] x4 (32)
R21: [sc 7, inc] x4 (36)
Brim: FLO — [sc 1, inc] x18 (54)
R22: [sc 2, inc] x18 (72)
R23: sc 72, sl st, FO, leave tail
Stars — make 6 in yellow:
mr, [ch 2, dc 1, ch 2, sl st] x5, pull tight — tiny star ~0.8". FO, leave tail. Sew scattered on hat.

Hat in progress — cone with slow increases gives that bent tip. Stars are quick, I make them while watching TV.
Bend tip: Don't stuff tip. After R16, fold top 2" over to one side and tack with a stitch so it stays bent like in the photo.
Step 5: Assembly and that cute smile
- Head to body: centered, sew around twice. Firm — head is heavy.
- Arms at sides at R5-R6 of body, angled slightly forward.
- Legs at bottom front, flat so she sits. If she tips back, move legs forward half a round.
- Face: embroider smile with black — small U, 5 stitches wide, between R13-R14 of head, centered between eyes. Add pink blush with pastel or pink yarn — tiny 2-stitch lines on cheeks.
- Hat: place on head, slightly tilted, tack with 4 stitches around — 2 front, 2 back — so it stays but can be removed if you want.

All my pieces before sewing — body with light belly, arms and legs with toes, hat with stars, safety eyes.

Finished — 5.5" without hat, 8.5" with. She sits on my shelf all October.
Finishing touches
Weave tails inside, knots into stuffing. Invisible decreases only. Brush frog lightly if you want fuzz. I don't brush the hat — I like it smooth.
Troubleshooting
Head too small / not round: You need to go to 42, not 36 like my kitten — frog heads are wider. Count R7.
Hat won't stay bent: Fold after R16 and tack with one stitch. If you stuff tip, it will stand straight — leave tip empty.
Eyes look too far apart: 8 stitches between, R11-R12. Pin first. If already snapped, add white highlight dot on inner side of each eye — brings them visually closer.
Won't sit: Flatten bottom of body and legs, move legs forward.
Make her yours
I made a black cat version with orange hat, and a pink frog with black hat for a friend who loves spooky cute. You can also make just the frog without hat — she's cute as a plain frog, just add a little bow. If you make her, send me a photo — I keep them all.

This frog witch is my favorite Halloween make — third time I remade the hat to get that flop. I hope she brings a little spooky-cute to your shelf too. 🐸💜⭐