Inside this pattern
- Before you begin
- Materials
- Sizing & gauge
- Abbreviations
- Roadmap — 6 steps
- Step 1: Flat base circle
- Step 2: Straight sides for pouch
- Step 3: White fangs — two long ones
- Step 4: Small teeth along top
- Step 5: Sewing mouth and drawstring
- Step 6: Fill with candy
- Assembly and finishing
- Troubleshooting
- Ways to make it your own
Progress photos are AI-generated illustrations made to show each stage.
Before you begin
I love a pouch that looks like it is eating your candy. The base is a flat circle, then we go up straight without increases — that is how a pouch stays pouchy. The top edge stays open, and we sew white fangs that hang down inside the mouth.
We work in continuous rounds with a marker. Red yarn can be hard to see, so I use a light next to me and count out loud. Keep your tension relaxed so the pouch can stretch a little for candy.
Materials
- Chunky / bulky weight yarn or 2 strands worsted held together in Red — about 80 yards per pouch (bottom 12 yds + sides 68 yds)
- Worsted in White — about 8 yards for 2 fangs + 6-8 small teeth (about 1 yd per tooth)
- Worsted in Black — about 5 yards for drawstring
- 5mm (H-8) crochet hook for pouch body — 3.5mm hook for fangs and teeth (tighter fabric)
- Yarn needle, scissors, stitch marker, pins
- Optional: black embroidery thread for eyes if you want face on back
Yarn estimate from actual counts: base R1-R8 = 168 sts, sides R9-R24 = 768 sts (48 sts × 16 rounds), fangs 2 × 28 sts = 56 sts, small teeth 6 × 10 sts = 60 sts, drawstring ch 80 — total about 1052 sts + ch — at 16 sc = 4" (0.25" per st) about 80-85 yards red, 8 yards white.
Sizing & gauge
Gauge: 16 sc x 18 rows = 4" x 4" in single crochet with 5mm hook and bulky/red yarn (or 2 strands worsted). Each stitch about 0.25" wide and 0.22" tall.
Diameter = sts × 0.25" ÷ 3.14
R4 (24 sts): 24 × 0.25 ÷ 3.14 = about 1.91"
R6 (36 sts): 36 × 0.25 ÷ 3.14 = about 2.86"
R8 (48 sts): 48 × 0.25 ÷ 3.14 = about 3.82" — main bottom size
Sides: R9-R24 = 16 rounds × 0.22" = about 3.52" tall sides + base = about 5" tall total — holds about 2 cups candy
Abbreviations
ch — chain
sl st — slip stitch
sc — single crochet
inc — increase: 2 sc in same stitch
inv dec — invisible decrease: front loops of next 2 sts, yarn over pull through 2, yarn over pull through 2 — used for fangs only
FO — fasten off
[...] x6 — repeat 6 times
Roadmap — 6 steps
1. Flat red circle base
2. Straight sides up
3. Two long white fangs
4. Small white teeth
5. Sew mouth and add drawstring
6. Fill with candy corn and chocolates
Step 1: Flat base circle
Flat circle that stays flat — increase by 6 each round. Check after R4: should be about 1.91" across. After R8: about 3.82" across.
R1: MR, 6 sc into ring (6)
R2: inc x6 (12) — uses 6, makes 12
R3: (sc 1, inc) x6 (18) — uses 12, makes 18
R4: (sc 2, inc) x6 (24) — uses 18, makes 24 — about 1.91"
R5: (sc 3, inc) x6 (30) — uses 24, makes 30
R6: (sc 4, inc) x6 (36) — uses 30, makes 36 — about 2.86"
R7: (sc 5, inc) x6 (42) — uses 36, makes 42
R8: (sc 6, inc) x6 (48) — uses 42, makes 48 — about 3.82" — main bottom

Flat red circle, 48 stitches, about 3.82" across at R8, bottom of vampire pouch.
What it should look like now: Flat red disc about 3.8" across, 48 sts around, lies flat.
Step 2: Straight sides for pouch
Now we stop increasing and go straight up. This makes the sides. 16 rounds gives about 3.5" tall sides.
R9-R24: sc in each st around (48) — 16 rounds even — about 3.52" tall sides
Sl st to first st, FO leaving 10" tail for weaving — do not close, leave top open — about 5" tall total with base

Red crochet pouch growing tall, 48 stitches around, about 3.5" tall sides, open top.
What it should look like now: Red pouch about 5" tall total, 3.8" wide at bottom, open at top, 48 sts around top edge.
Step 3: White fangs — two long ones
Two pointy fangs that hang down from the top rim. Use 3.5mm hook for tighter fabric so they hold shape.
R1: MR, 4 sc (4)
R2: sc around (4) — 4 sts
R3: (sc 1, inc) x2 (6) — uses 4, makes 6
R4: sc around (6)
R5: (sc 2, inc) x2 (8) — uses 6, makes 8
R6-R7: sc around (8) — 2 rounds even — about 1" tall fang
FO leaving 10" tail for sewing — stuff very lightly or not at all — point stays pointy

Small white crochet fangs, about 1" tall, 8 stitches around at base, pointy tip.
What it should look like now: Two white fangs about 1" tall, 8 sts around base, lightly stuffed or empty.
Step 4: Small teeth along top
Small teeth that go between the fangs — they make the mouth look toothy.
R1: MR, 4 sc (4)
R2: (sc 1, inc) x2 (6) — uses 4, makes 6
R3: sc around (6) — about 0.4" tall
FO leaving 6" tail — 6 small teeth about 0.4" tall each

Sewing white fangs onto top edge of red vampire pouch, fangs hanging down inside mouth, white teeth lined along rim.
What it should look like now: 2 fangs + 6 small teeth ready to sew, each tooth about 0.4" tall.
Step 5: Sewing mouth and drawstring
Sew teeth first along front top edge, then fangs hanging down from inside front rim. Drawstring goes through last round to cinch slightly if you want.
Pin small teeth evenly across front half of top edge (R24) — 6 teeth about 6 sts apart — sew with white tails through top loops
Pin 2 fangs inside front rim — about 10 sts apart — hanging down about 0.8" inside pouch — sew with white tails through inside of top edge
With Black yarn, ch 80 — about 14" drawstring — FO — weave through R23 (second to top round) every 4 sts — tie ends — optional, pouch can stay open without it

Red vampire pouch with white fangs and teeth sewn to top, drawstring in black, ready for candy.
What it should look like now: Red pouch with white toothy smile, 2 long fangs hanging down, 6 small teeth along rim, black drawstring through top.
Step 6: Fill with candy
The best part — fill it with candy corn, peanut butter cups, and wrapped chocolates.
Weave all tails inside pouch — red tail inside bottom, white tails inside top edge
Fill with candy corn and chocolates — about 2 cups fits
Pouch holds shape when filled — about 5" wide × 5" tall filled

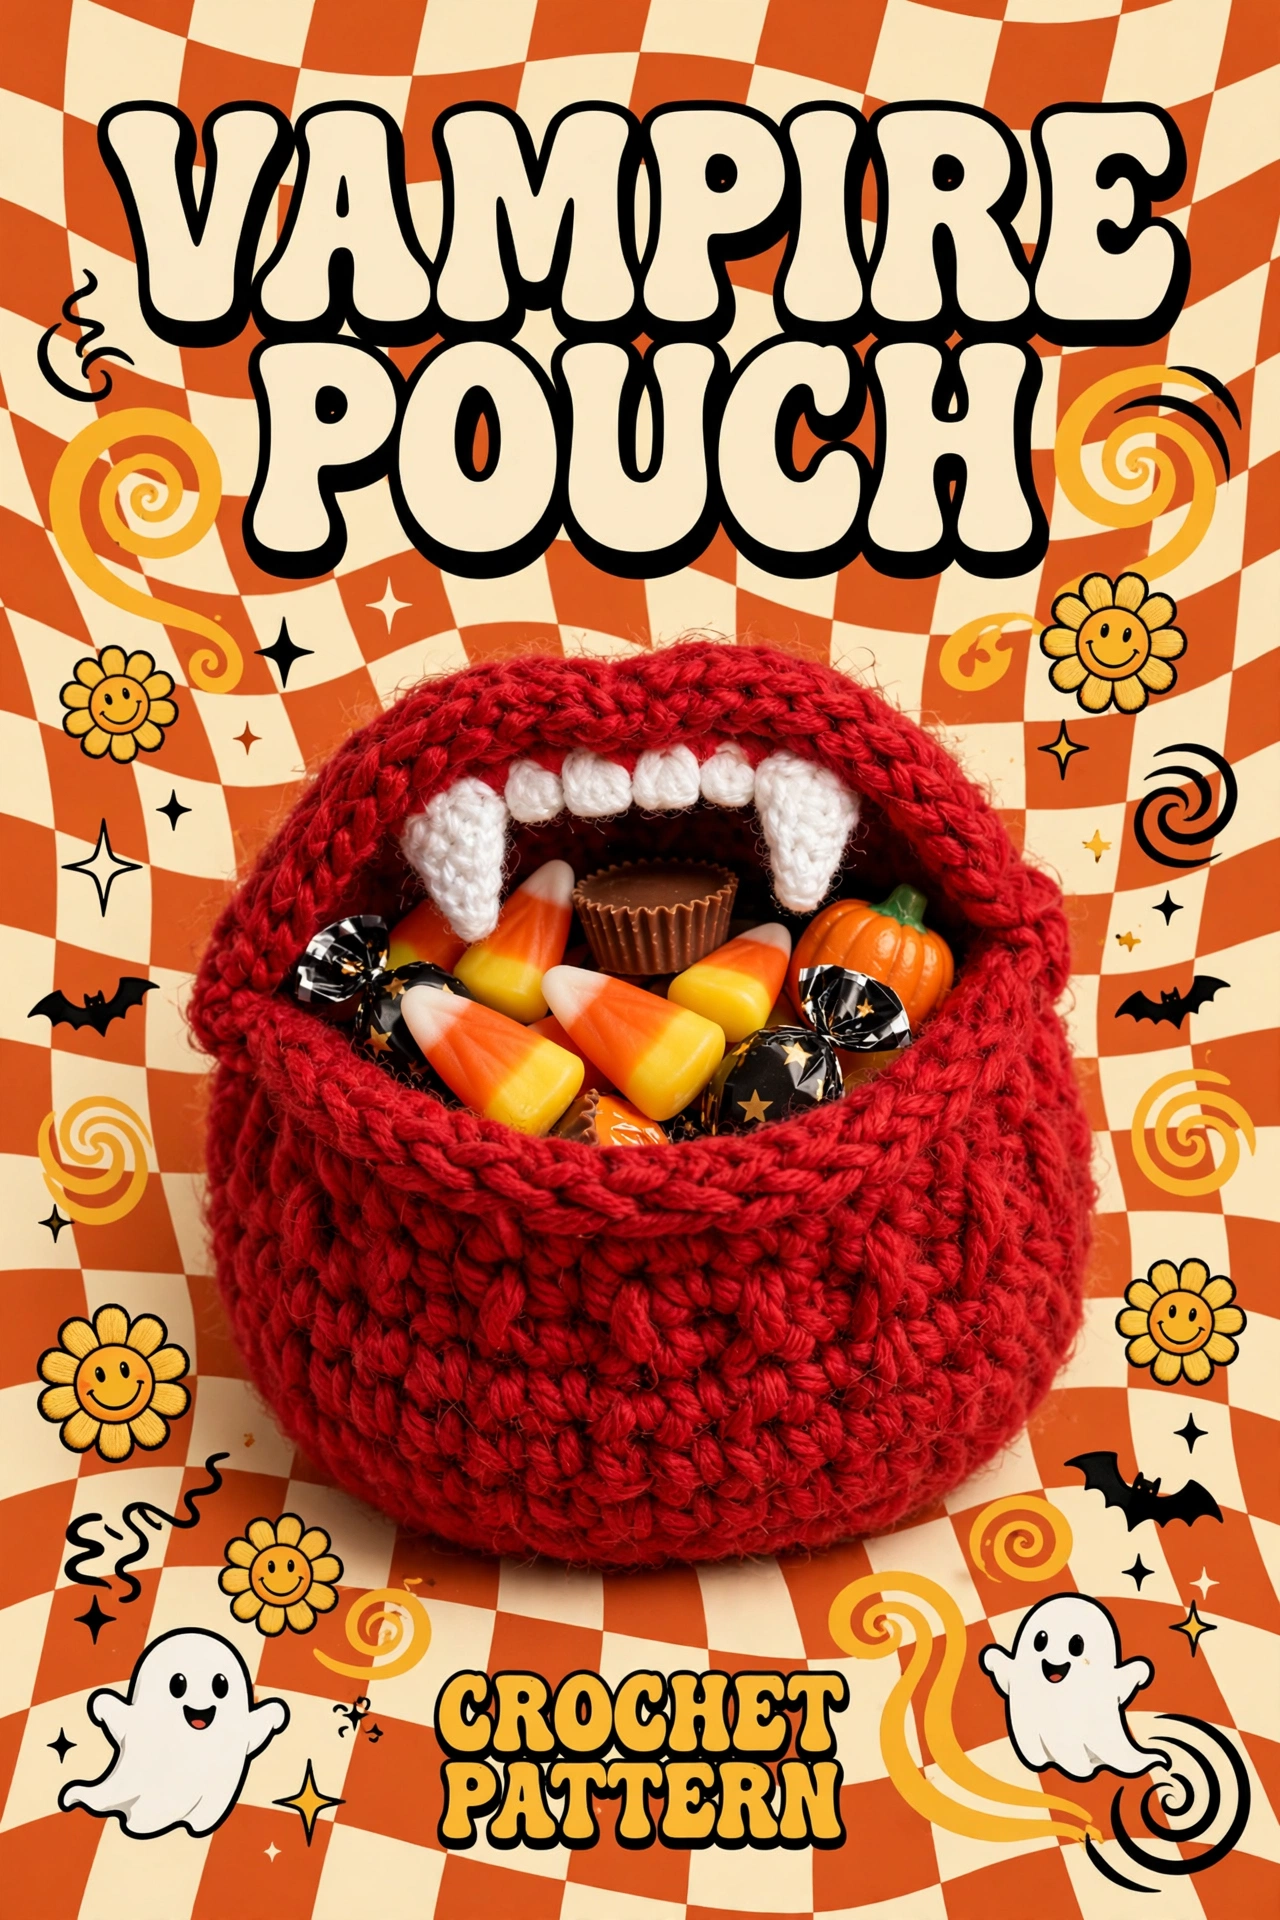
Finished red crochet vampire pouch with white fangs and teeth, full of candy corn and chocolates, about 5" tall.
What it should look like now: Finished vampire pouch — red pouch about 5" tall, 5" wide, open mouth with white fangs and teeth, full of candy, spooky cute.
Assembly and finishing
- Make flat base R1-R8 = 48 sts = about 3.82" across.
- Make sides R9-R24 = 48 sts × 16 rounds = about 3.5" tall sides, 5" tall total.
- Make 2 fangs R1-R7: 4→4→6→6→8→8→8 = about 1" tall each.
- Make 6 small teeth R1-R3: 4→6→6 = about 0.4" tall each.
- Sew 6 small teeth along front top edge, 6 sts apart.
- Sew 2 fangs inside front rim, 10 sts apart, hanging down.
- Add black drawstring ch 80 through R23, tie.
- Weave all tails, fill with candy.
Troubleshooting
Sides lean or spiral: Marker slipped — move marker to first st each round, count 48 around.
Fangs curl: Tension too tight — use 3.5mm hook but relaxed tension, stuff very lightly or not at all.
Teeth too big: R1 should be 4 sc, not 6 — check small tooth pattern: 4→6→6 = 0.4" tall.
Pouch not holding shape: Use bulky yarn or 2 strands worsted, or 5mm hook not 6mm — fabric should be dense.
Drawstring too tight: Ch 80 should be about 14" — if too short, ch 100 — weave loosely through R23.
Ways to make it your own
- Small 3" pouch: R1 6, R2 12, R3 18, R4 24, R5 30, R6 36 — 36 sts = about 2.86" across, R7-R18 sc 36 (12 rounds) = about 2.6" tall sides, 3" tall total — holds small handful candy — about 50 yds red
- Main 3.8" base, 5" tall: R1 6, R2 12, R3 18, R4 24, R5 30, R6 36, R7 42, R8 48, R9-R24 sc 48 (16 rounds) — this pattern — about 3.82" base, 5" tall — about 80 yds red
- Large 5.7" trick-or-treat bag: R1 6, R2 12, R3 18, R4 24, R5 30, R6 36, R7 42, R8 48, R9 54 (sc 7, inc) x6, R10 60 (sc 8, inc) x6, R11 66 (sc 9, inc) x6, R12 72 (sc 10, inc) x6 — 72 sts = about 5.73" across, R13-R32 sc 72 (20 rounds) = about 4.4" tall sides, about 6" tall total — about 130 yds red
- Color: make purple pouch with green fangs for monster, or black pouch with white fangs for classic Dracula
- No fangs: make as simple drawstring pouch for dice, stitch markers, or jewelry — skip teeth

Thank you for making this vampire pouch with me. I hope it holds lots of candy corn and makes your Halloween a little spookier and a lot cuter. I test-crocheted this one straight from these instructions — 48 stitches around, every round counted — if you make one, I would love to see what candy you fill it with.