Inside this pattern
- Before you begin
- Materials
- Sizing & gauge
- Abbreviations
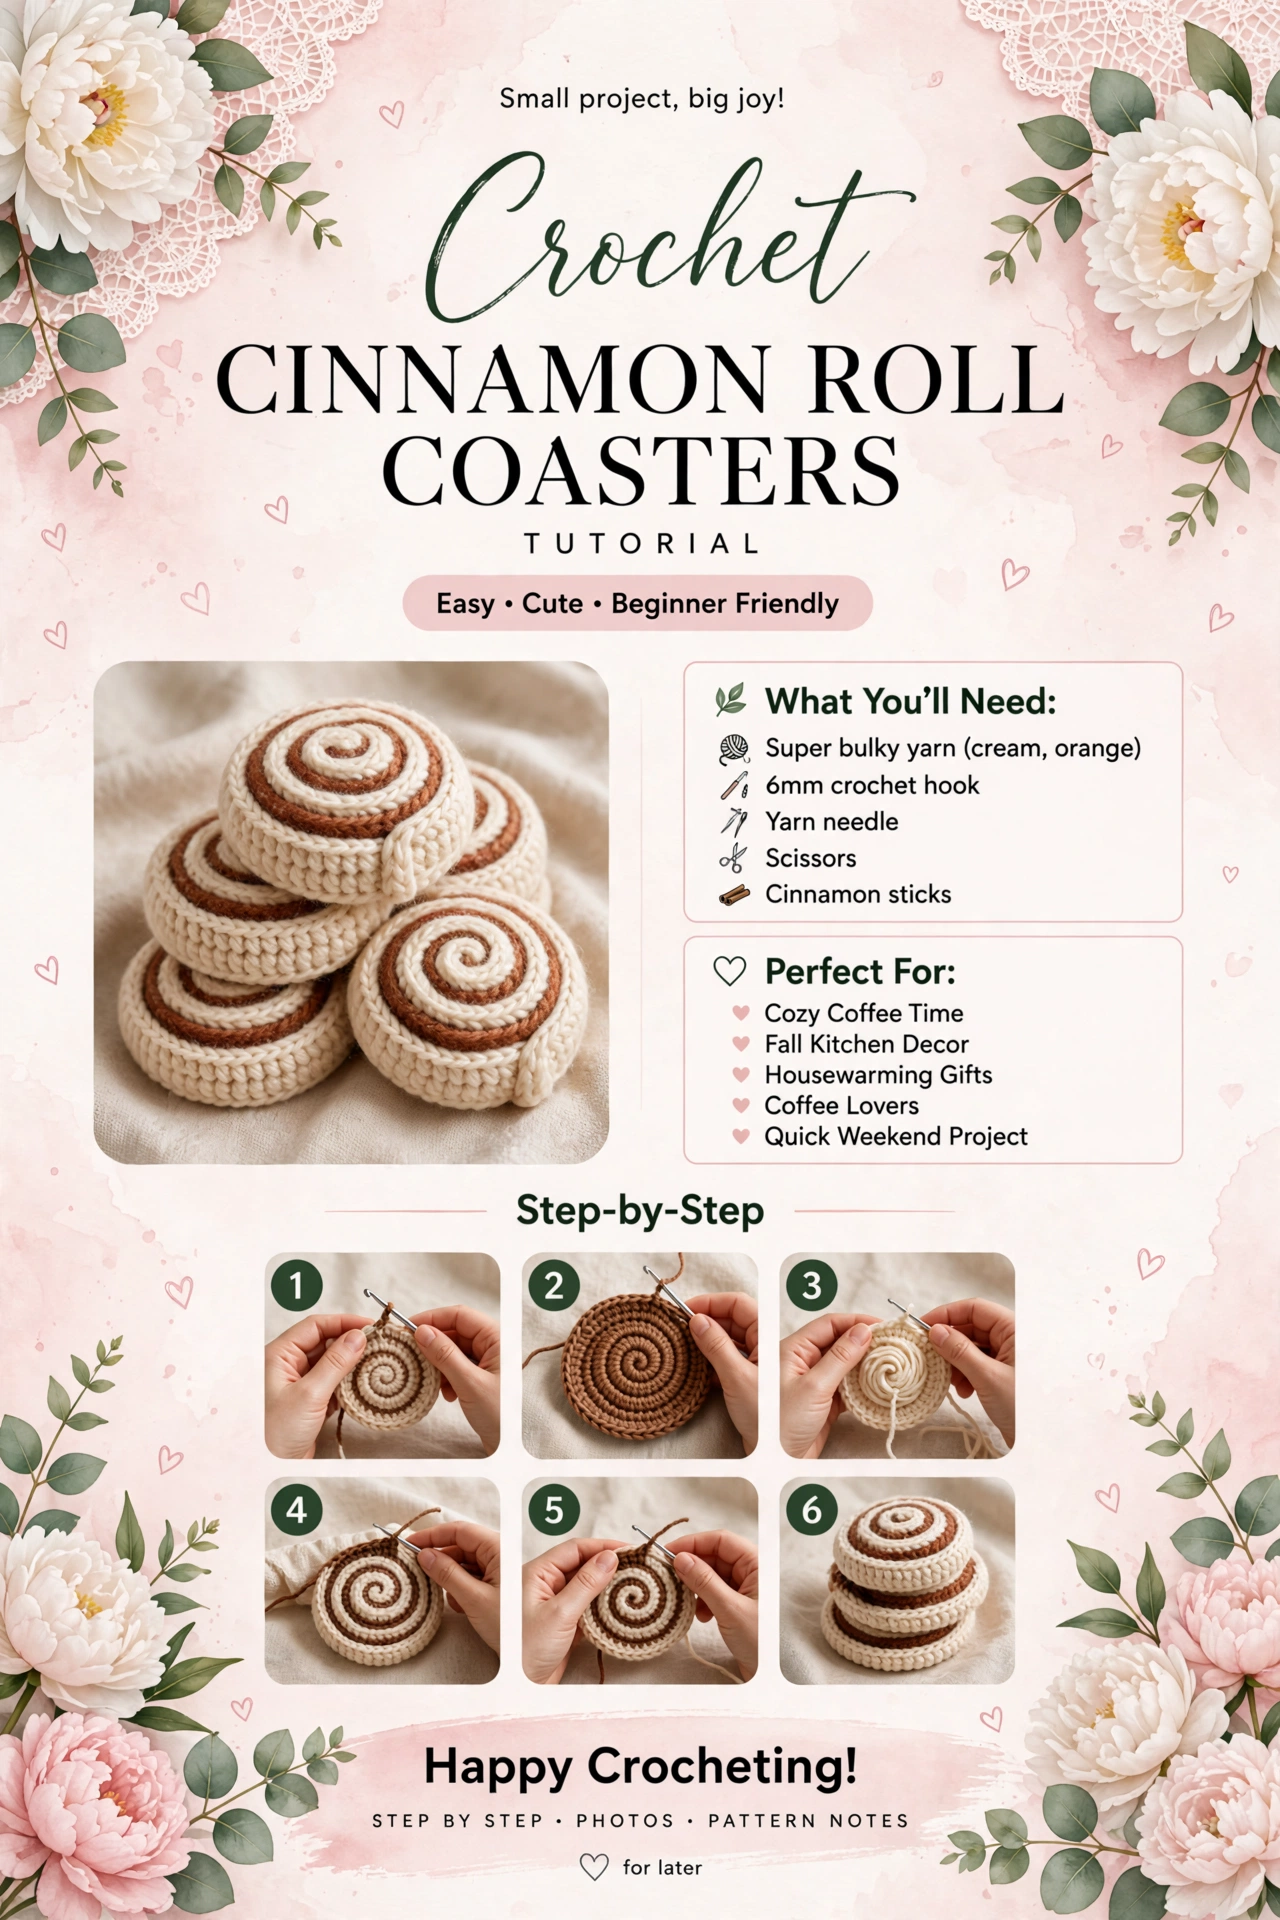
- Roadmap — 6 steps
- Step 1: Center
- Step 2: Growing the flat base
- Step 3: Finishing the flat base
- Step 4: The spiral in brown
- Step 5: Turning up the wall
- Step 6: Little tail and finishing
- Assembly
- Troubleshooting
- Ways to make it your own
Progress photos are AI-generated illustrations made to show each stage.
Before you begin
This coaster is a flat cream circle with a brown spiral added on top using surface slip stitches. At this gauge each stitch is about 0.4" wide, so diameter = stitches × 0.4 ÷ 3.14. I note the size after each round.
Work in continuous rounds with a marker in the first stitch. Keep your hand relaxed with super bulky yarn.
Materials
- Super bulky (weight 6) in Cream — about 18 yards per coaster (about 72 yards for 4)
- Super bulky in Cinnamon Brown — about 3 yards per coaster (about 12 yards for 4)
- 6mm crochet hook
- Yarn needle, scissors, stitch marker
- Total per coaster is about 21 yards. Measure your own finished coaster for your most accurate number.
Sizing & gauge
Gauge: 10 sc = 4" and 10 rows = 4" in single crochet with 6mm hook and super bulky.
R3 (18 sts): about 2.3"
R4 (24 sts): about 3.1"
R5 (30 sts): about 3.8"
R6 (36 sts): about 4.6" — main size
R7 (42 sts): about 5.3"
R8 (48 sts): about 6.1" — large mug rug
R9 (54 sts): about 6.9"
Abbreviations
ch — chain
sl st — slip stitch
sc — single crochet
inc — increase: 2 sc in same stitch
inv dec — invisible decrease: front loops of next 2 sts, yarn over pull through 2, yarn over pull through 2
BLO — back loop only
Surface sl st — surface slip stitch: yarn held behind work, insert hook front to back between stitches, pull loop to front, sl st
FO — fasten off
Roadmap — 6 steps
1. Small cream center
2. Grow to 24 sts (~3.1")
3. Grow to 36 sts (~4.6") flat top
4. Brown surface spiral for swirl
5. Wall to make it thick
6. Tiny tail and weave
Step 1: Center
R1: MR, 6 sc into ring (6)
R2: inc in each st around (12)

Small cream disc with closed magic ring, about 1.5" across.
What it should look like now: Flat disc about 1.5" across, no hole.
Step 2: Growing the flat base
R3: (sc 1, inc) x6 (18) — about 2.3" across
R4: (sc 2, inc) x6 (24) — about 3.1" across

Flat cream circle growing, all cream, about 3.1" across after R4.
What it should look like now: Flat cream circle about 3.1" across.
Step 3: Finishing the flat base
R5: (sc 3, inc) x6 (30) — about 3.8" across
R6: (sc 4, inc) x6 (36) — about 4.6" across — stop here for main size

Finished flat cream base, 36 stitches, about 4.6" across, flat.
What it should look like now: Flat top about 4.6" across.
Step 4: The spiral in brown
We add the cinnamon swirl on top of the cream base with surface slip stitches that spiral out from the center. This keeps the top flat and makes a true swirl.
Pin or mark your live cream loop so it does not unravel. Hold brown yarn behind work.
Make slip knot, insert hook front to back in center of R1, pull loop to front.
Work surface sl st in a spiral outward, placing each st about one stitch over and keeping lines about 0.4" to 0.5" apart.
Work about 2.5 winds, about 38 surface sl sts total — about 15" of stitching plus tails, about 3 yards total.
FO brown, leave 4" tail to weave behind.

Cream base with brown surface slip stitch spiral winding out from center, about 2.5 turns, spaced about 0.4" apart.
What it should look like now: Cream base with a brown spiral that winds out from center, spaced evenly.
Step 5: Turning up the wall
The wall should go down so the swirl stays on the flat top, not inside a dish. Turn your work over so the wrong side is facing you before you start the wall.
Turn work over so wrong side faces you.
R7: BLO sc in each st around (36)
R8: sc in each st around (36)
R9: sc in each st around (36)

Wall built after turning work so wrong side faces, now about 1" tall, swirl stays on top flat.
What it should look like now: Thick roll about 4.6" across and 1" tall, swirl on top flat surface.
Step 6: Little tail and finishing
Ch 4, work 3 sc back down chain starting in 2nd ch from hook, sl st into side where chain started.
FO leaving 8-inch tail.

Finished single coaster with small 1/2" tail on side edge.
What it should look like now: One finished coaster with small tail, holds shape.
Assembly
Weave cream center tail through back bumps of MR. Weave brown surface tails behind spiral. Use final tail to secure base of chain tail and run through side wall. Shape with hands.
Troubleshooting
Bowl shape: Ensure 6 increases per flat round and relaxed tension.
Wavy edge: Check R6 is 36 stitches.
Wall makes dish: Turn work so wrong side faces you before R7, then BLO.
Swirl puckers: Surface stitches too tight — keep loops loose and spacing 0.4" to 0.5".
Live loop unravels: Pin or place marker in cream loop while working brown spiral.
Ways to make it your own
Small 3.8": stop flat at R5 (30), then R6 BLO 30, R7 sc 30, R8 sc 30
Main 4.6": flat R6 (36), then R7 BLO 36, R8-R9 sc 36 — this pattern
Medium 5.3": flat add R7: (sc 5, inc) x6 (42), then wall R8 BLO 42, R9-R10 sc 42
Large 6.1": flat add R7 (42) and R8: (sc 6, inc) x6 (48), then wall R9 BLO 48, R10-R11 sc 48
Color: off-white with toffee, vanilla with chocolate
Tip: Make one coaster and measure or weigh your yarn to get your personal numbers — about 18 yds cream + 3 yds brown is a starting point.

Thank you for making these cinnamon roll coasters with me. I hope they make your table a little warmer. If you make a set, I would love to see your colors.