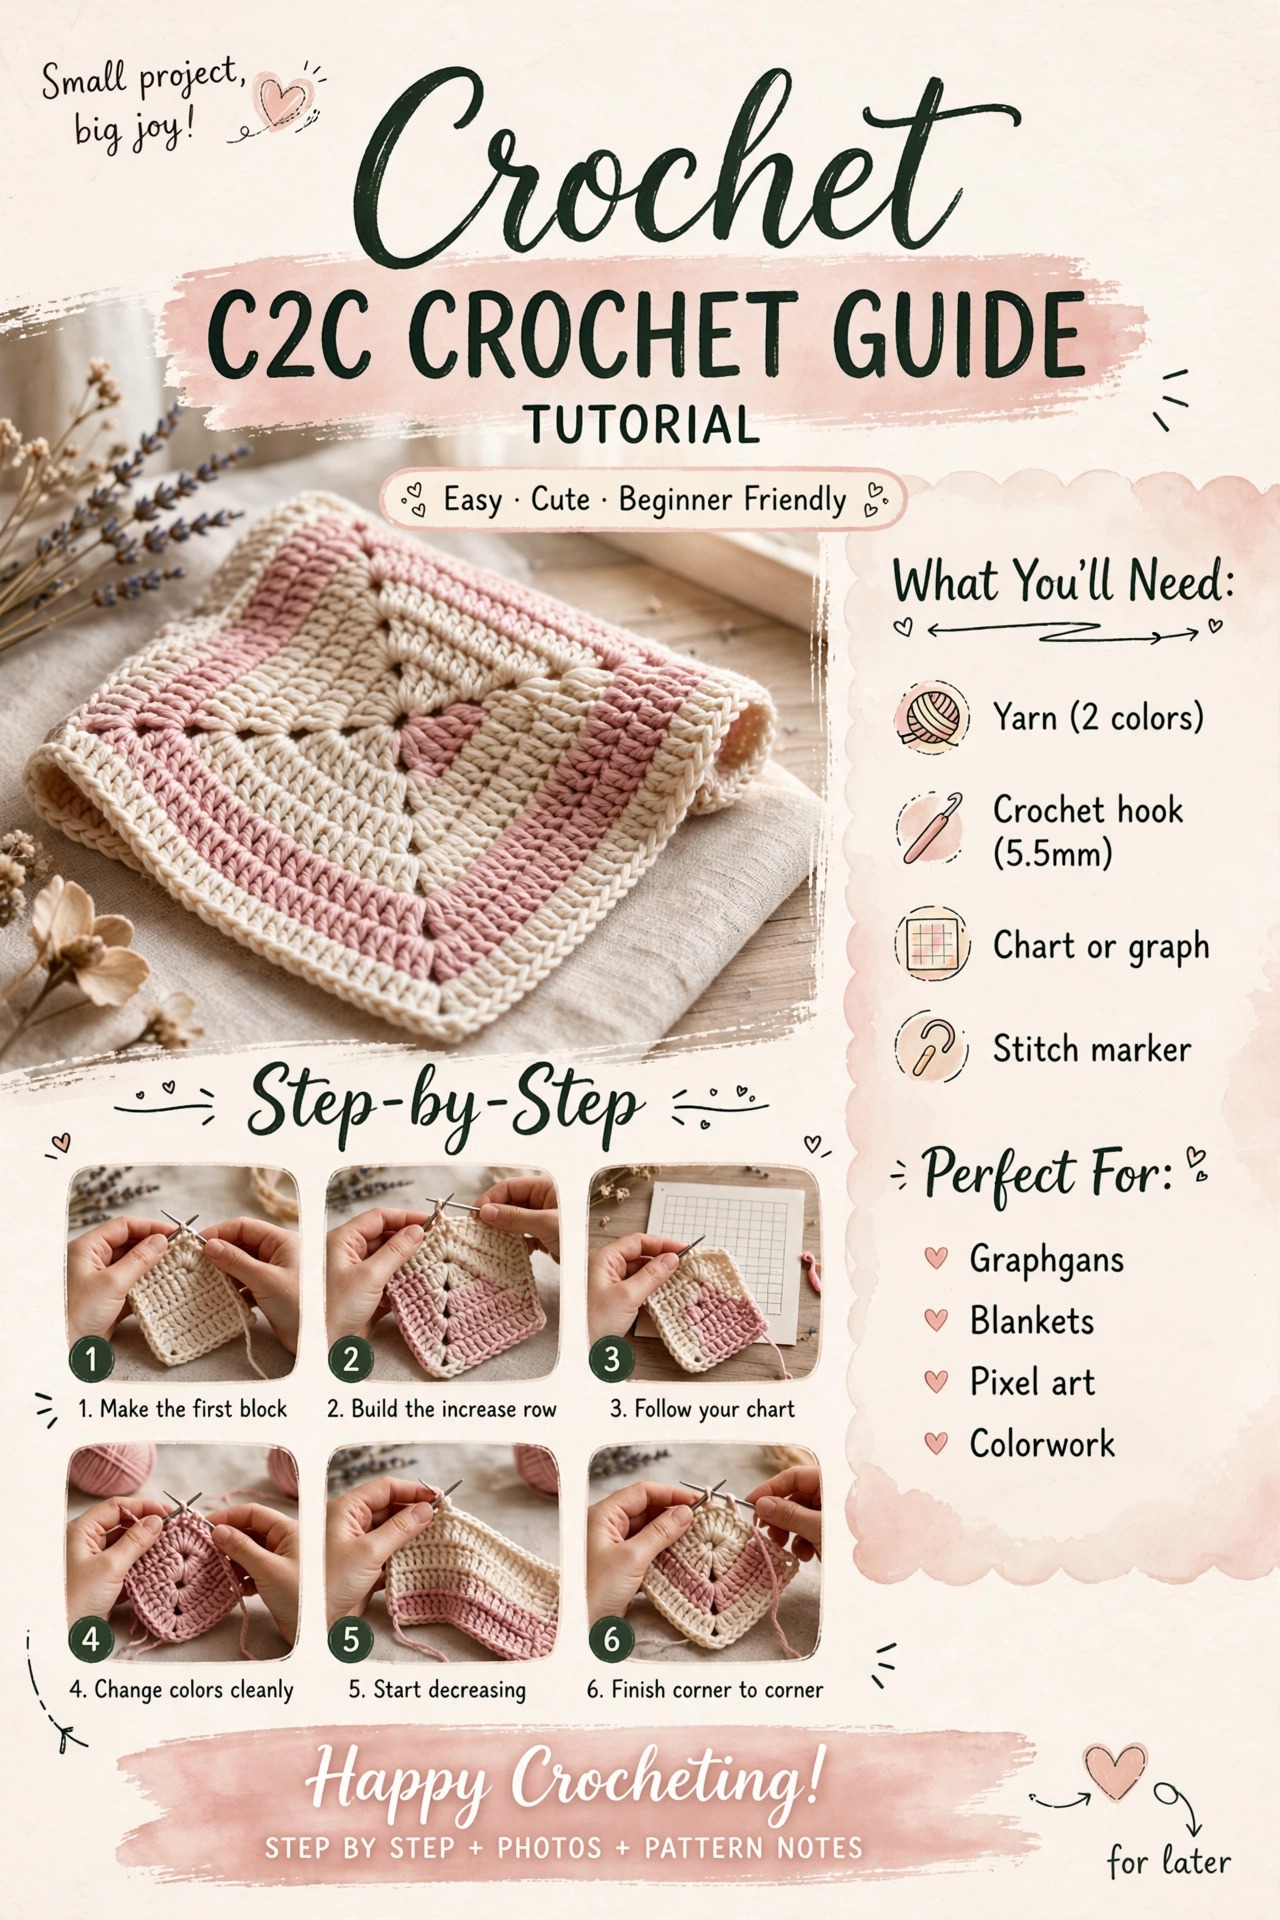
Practice corner-to-corner construction with a tiny four-color diagonal swatch.
Work through the guide in order and use the checkpoints before moving to the next stage.
Materials & preparation
Before you start
Set out your yarn, hook, scissors and needle. Read the complete instructions once before making the first stitch. Write down any target stitch count or finished measurement so you can check your work as you go.
Gauge & tension
Your yarn, hook and personal tension determine the finished fabric. When size matters, make a small swatch and let it rest flat before measuring. Do not force your hands to match a number by gripping the hook harder.
Core pattern / method
Materials
- Worsted yarn in 2 colors
- 5 mm hook
- Needle and scissors
Abbreviations
ch = chain · dc = double crochet · sl st = slip stitch
Mini C2C
- Tile 1: Ch 6, dc in 4th, 5th and 6th chains. 1 tile.
- Row 2: Ch 6, dc in 4th–6th ch. Sl st into previous tile, ch 3, 3 dc in ch-3 space. 2 tiles.
- Row 3: Repeat the increase sequence across. 3 tiles.
- Row 4: Repeat the increase sequence across. 4 tiles.
- Row 5: Work the decrease sequence until 3 tiles remain, then continue decreasing to 1 tile.
- Finish: Fasten off and weave ends.
Color changes
Change color at the slip-stitch join before beginning the next tile. Keep unused yarn at the back and weave ends securely.
Project-specific checkpoints
Use the stitch counts, measurements and shape described in the core method above as your checkpoints. Stop at each repeat or construction change and compare the fabric with the intended result before continuing.
Troubleshooting
The finished shape looks different
Check stitch count, yarn weight, hook size and tension in that order. A small difference in any one of these can change the finished fabric. Correct construction first; use blocking only for final shaping.
My stitches feel inconsistent
Slow down for one row, relax your shoulders and keep the hook movement small. Consistency improves when the hand motion becomes repeatable, not when you pull the yarn tighter.
I made a mistake several rows back
Find the first wrong stitch, unravel only to that point and rebuild the section. Carrying an incorrect stitch forward usually makes the final repair harder.
Finish for the way this project will be used
Secure every working tail through compatible stitches without distorting the fabric. Check the edges, joins and any load-bearing area before trimming tails. Shape or block only when the yarn's care instructions and the construction make that appropriate.
Variations & next projects
Once the base version feels comfortable, change one variable at a time: color, yarn weight, hook size, border or finished dimensions. Keeping the rest of the method unchanged makes it easier to understand what each change does.
Repeat the same construction in a new color palette or size before moving to a completely different technique. This is one of the fastest ways to turn a tutorial into a skill you can reuse.
Care based on fiber and construction
Keep the yarn label and follow its washing and drying directions. Before washing a finished piece, also consider its construction: handles, seams, stuffing, embellishments and mixed fibers may require gentler care than the yarn alone.
How I keep C2C edges from wandering
C2C is repetitive once the increase and decrease blocks make sense, but it is easy to add one block without noticing. I count blocks along the edge at regular intervals instead of waiting until the end. For a graph design, mark off completed rows on the chart as you go.
When changing colors, keep unused yarn organized rather than dragging long floats across the back. For a simple first practice piece, use one color until the diagonal construction feels automatic.
Final notes
Keep the first successful sample and note the yarn, hook, measurements and any adjustment you made. That record is more useful than trying to remember the setup later.