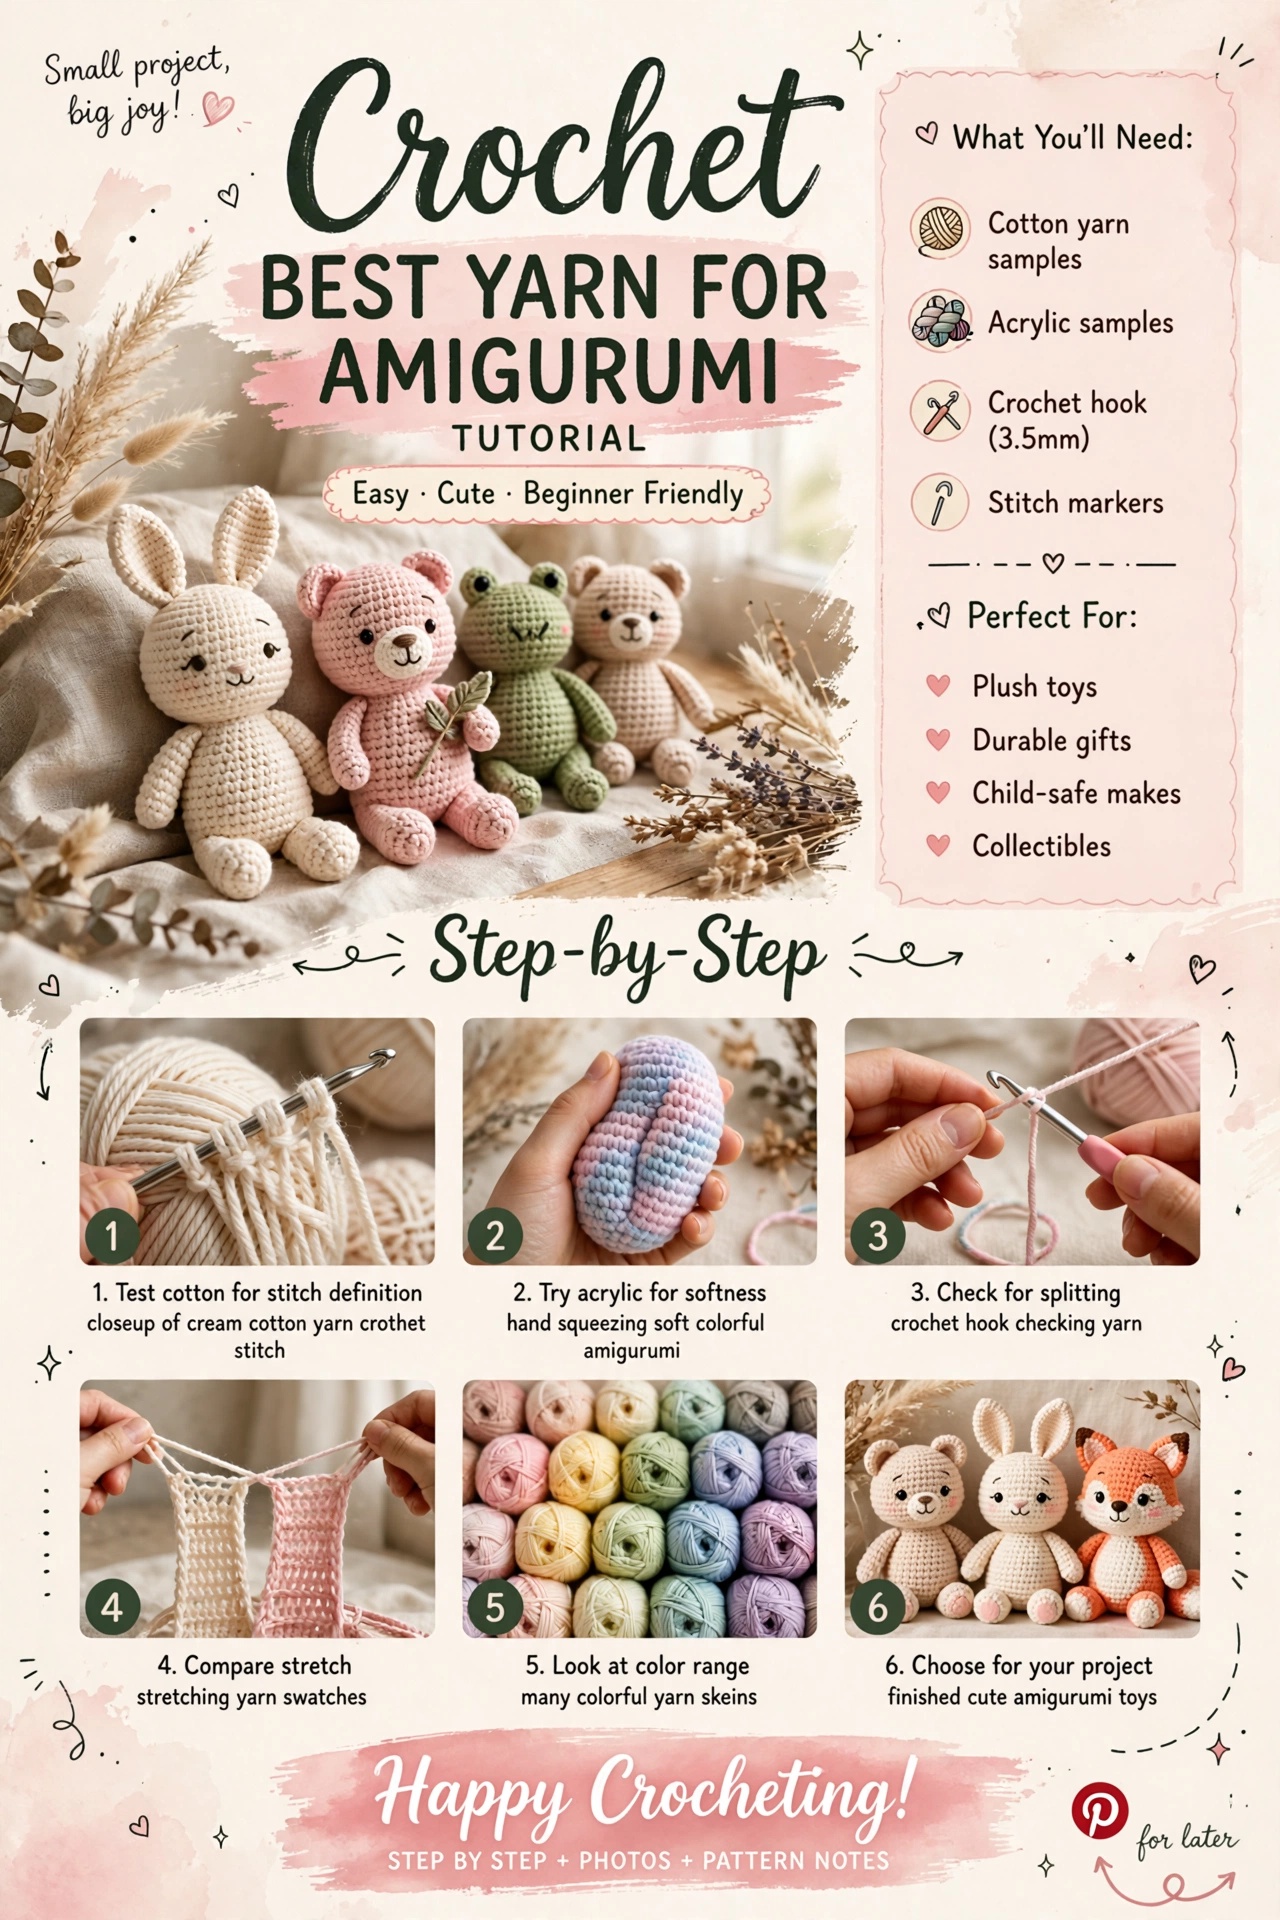
Test a yarn for stitch definition, firmness and stuffing coverage before using it for a full toy.
Work through the guide in order and use the checkpoints before moving to the next stage.
Materials & preparation
Before you start
Set out your yarn, hook, scissors and needle. Read the complete instructions once before making the first stitch. Write down any target stitch count or finished measurement so you can check your work as you go.
Gauge & tension
Your yarn, hook and personal tension determine the finished fabric. When size matters, make a small swatch and let it rest flat before measuring. Do not force your hands to match a number by gripping the hook harder.
Core pattern / method
Materials
- Cotton or cotton-blend yarn
- Hook 0.5–1 mm smaller than the yarn label suggestion
- Small amount of stuffing
Test ball
- Round 1: MR, 6 sc. 6 st.
- Round 2: Inc around. 12 st.
- Round 3: [Sc 1, inc] around. 18 st.
- Round 4: [Sc 2, inc] around. 24 st.
- Rounds 5–7: Sc around. 24 st.
- Rounds 8–10: [Sc 2, dec] around, then stuff before closing.
- Finish: Dec around, fasten off and close.
Choose the winner
Pick the yarn that gives small, even stitches, minimal gaps and a firm shape without making your hands uncomfortable.
Project-specific checkpoints
Use the stitch counts, measurements and shape described in the core method above as your checkpoints. Stop at each repeat or construction change and compare the fabric with the intended result before continuing.
Troubleshooting
The finished shape looks different
Check stitch count, yarn weight, hook size and tension in that order. A small difference in any one of these can change the finished fabric. Correct construction first; use blocking only for final shaping.
My stitches feel inconsistent
Slow down for one row, relax your shoulders and keep the hook movement small. Consistency improves when the hand motion becomes repeatable, not when you pull the yarn tighter.
I made a mistake several rows back
Find the first wrong stitch, unravel only to that point and rebuild the section. Carrying an incorrect stitch forward usually makes the final repair harder.
Finish for the way this project will be used
Secure every working tail through compatible stitches without distorting the fabric. Check the edges, joins and any load-bearing area before trimming tails. Shape or block only when the yarn's care instructions and the construction make that appropriate.
Variations & next projects
Once the base version feels comfortable, change one variable at a time: color, yarn weight, hook size, border or finished dimensions. Keeping the rest of the method unchanged makes it easier to understand what each change does.
Repeat the same construction in a new color palette or size before moving to a completely different technique. This is one of the fastest ways to turn a tutorial into a skill you can reuse.
Care based on fiber and construction
Keep the yarn label and follow its washing and drying directions. Before washing a finished piece, also consider its construction: handles, seams, stuffing, embellishments and mixed fibers may require gentler care than the yarn alone.
Choose yarn that lets you see every stitch
For a first amigurumi, I would choose a smooth yarn with clear stitch definition over something fluffy. You need to see where the hook enters, especially during increases and invisible decreases. Cotton gives crisp definition; acrylic is affordable, forgiving, and available in many colors.
Whatever fiber you choose, the fabric should be dense enough that stuffing does not show through. Rather than pulling every stitch painfully tight, use a hook that creates a firm fabric comfortably. Pair this with the magic ring and the working-in-the-round guide.
Final notes
Keep the first successful sample and note the yarn, hook, measurements and any adjustment you made. That record is more useful than trying to remember the setup later.
Amigurumi yarn test
Sample yarn: smooth cotton or cotton-blend #3–4 · Hook: 3.5 mm · Goal: dense stitches with minimal stuffing visible.
Gauge & finished size
There is no single universal amigurumi gauge. A useful target is a firm fabric with no obvious holes. A small test ball may finish around 6–8 cm (2.5–3 in), depending on the pattern.
Numbered test
- Make a 6-stitch magic ring.
- Increase to 12 and then 18 stitches over the next two rounds.
- Work several even rounds.
- Add a small amount of stuffing and inspect for gaps.
- Try the same test with another yarn before choosing your main skein.
Choosing texture and color
Smooth yarn makes stitch counting and embroidered details easier. Fuzzy yarn can create a soft effect but hides stitch definition. Choose color after checking the yarn under the lighting where the finished item will be used.
Finishing & care
Secure facial details and yarn tails firmly. Follow the fiber's care label and avoid promising machine washing unless the complete finished construction supports it.